banner-desk-super-endo[1]
banner-mobile-super-endo-e1660847695417[1]

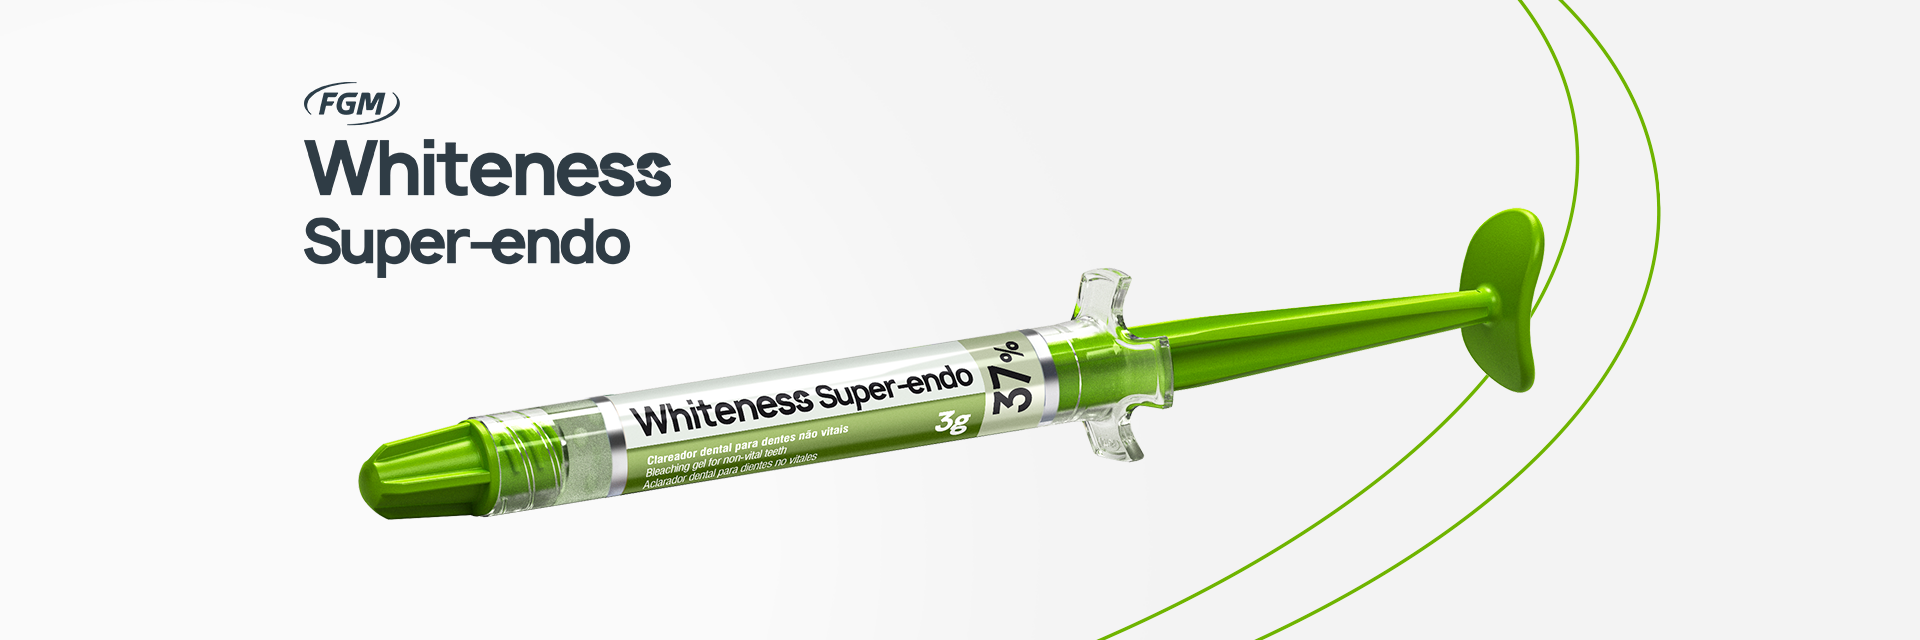
Whiteness Super–endo

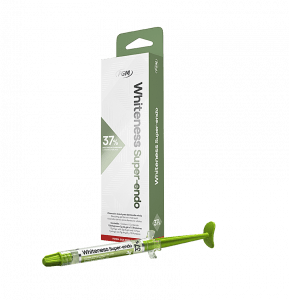
Carbamide peroxide whitening system at 37% for use as temporary dressing in non-vital teeth.
Benefits

Ready for use:
No mixing required.

Excellent affinity with water:
It is easily removed from the pulp chamber at the end of the treatment.

Ideal consistency:
Easy intracoronary application.

Recommendations

For whitening of non-vital teeth via application and maintenance inside the pulp chamber (walking bleach technique).

Commercial Availability

Kit

• 1 syringe with 3g
• 15 applicator tips.

Step by step

image75-1[1]
Step 1 of 5
Make sure (both clinically and by X-Ray) that the endodontic treatment is adequate. Record the shade of the tooth to be whitened using a shade guide and/or photograph prior to beginning whitening.
image76-1[1]
Step 2 of 5
Make the access to the pulp chamber, removing all restoration materials and exposing the canals inlet with gutta percha.
image77-1[1]
Step 3 of 5
Having cleaned the pulp chamber, deepen the canal’s entry by removing approximately 3mm of filling to make the cervical sealing aiming at avoiding the whitener to go into the root canal and spreading towards the periodontal. We recommend cervical sealing to be made using glass ionomers or fluid composite.
4[2]
Step 4 of 5
Apply Whiteness Super-endo into the pulp chamber (directly from the applying tip of the syringe). Prepare a small flat ball (or mesh) with cotton and position it into the cavity over the whitener. Next, perform provisory sealing with CIV or similar.
Step 5 of 5
Assess the case after 3 to 4 days. If required, repeat the applications reassessing always every 3 to 4 days. The number of applications may reach 8 times, depending on the progress.
Notes
1 – Always observe the results after each application. If from one application to the next the results do not progress, there will be evidence that whitening has reached its limit. 2 – If no results are attained, or if whitening progress is very slow, check if the restoration material from the pulp chamber has been effectively removed. Incomplete removal of restoring materials from the pulp chamber may prevent the whitener from acting, compromising whitening.
image88-1-300x178[1]
Notes
Upon completion of the whitening, we recommend waiting at least 7 days to perform the final restoration.
Notes
1 – Instruct the patient about the weakness of the non-vital tooth treated and avoid accidental fracturing. 2 – For cases where non-vital teeth are severely weakened by removal of the dental structure, we recommend implanting an intra radicular reinforcement post Whitepost (FGM).
plugins premium WordPress

Selecione seu idioma

Select your language