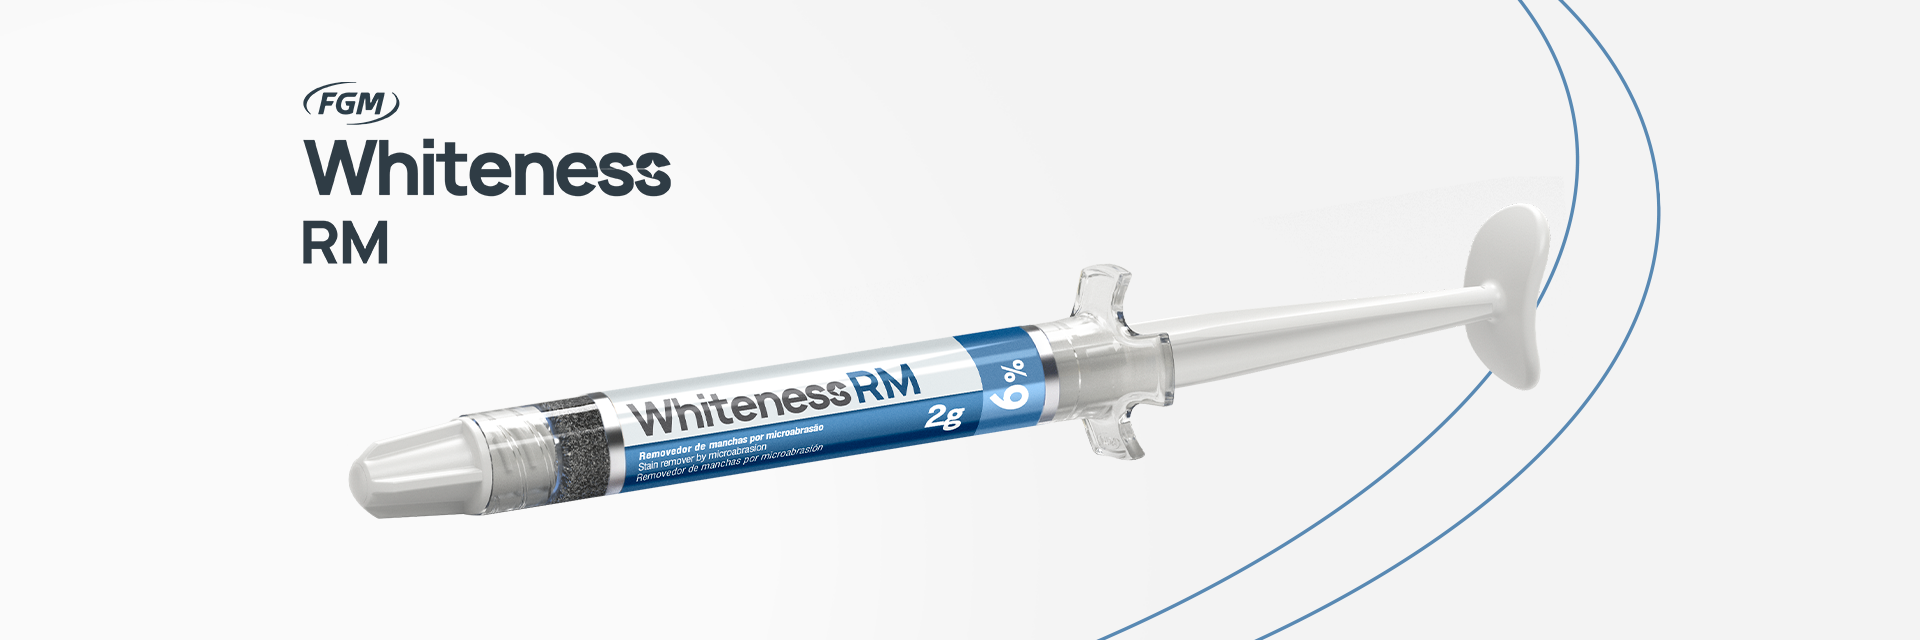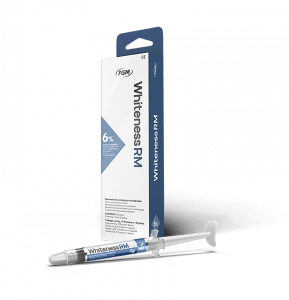


Stain remover by microabrasion, composed of hydrochloric acid at 6% and silicon carbide.


Efficiency:
Effective and definitive removal of dental stains restricted to enamel.
Comfort:
Does not cause dental sensitivity.
Convenience:
Can be applied manually and with the aid of a rubber cup.
Resistance:
The microabraded surface becomes more resistant to demineralization by S. mutans.
Ready for use:
No mixing required.
Excellent viscosity:
Easy application.
Controlled chemical and mechanical removal of enamel stained by:- Fluorosis- Surface hypoplasia of the enamel- Structural defects that cause pigmentation- White stains from inactive caries.
![foto-1-15[1]](https://fgmdentalgroup.com/wp-content/uploads/2022/11/foto-1-151.jpg)
![foto-1-15[1]](https://fgmdentalgroup.com/wp-content/uploads/2022/11/foto-1-151.jpg)
![foto-1-15[1]](https://fgmdentalgroup.com/wp-content/uploads/2022/11/foto-1-151.jpg)
![foto-2-2-1[1]](https://fgmdentalgroup.com/wp-content/uploads/2022/11/foto-2-2-11.jpg)
![foto-2-2-1[1]](https://fgmdentalgroup.com/wp-content/uploads/2022/11/foto-2-2-11.jpg)
![foto-2-2-1[1]](https://fgmdentalgroup.com/wp-content/uploads/2022/11/foto-2-2-11.jpg)
![foto-3-2-1[1]](https://fgmdentalgroup.com/wp-content/uploads/2022/11/foto-3-2-11.jpg)
![foto-3-2-1[1]](https://fgmdentalgroup.com/wp-content/uploads/2022/11/foto-3-2-11.jpg)
![foto-3-2-1[1]](https://fgmdentalgroup.com/wp-content/uploads/2022/11/foto-3-2-11.jpg)
![foto-4-2[1]](https://fgmdentalgroup.com/wp-content/uploads/2022/11/foto-4-21.jpg)
![foto-4-2[1]](https://fgmdentalgroup.com/wp-content/uploads/2022/11/foto-4-21.jpg)
![foto-4-2[1]](https://fgmdentalgroup.com/wp-content/uploads/2022/11/foto-4-21.jpg)
![foto-5-1-1[1]](https://fgmdentalgroup.com/wp-content/uploads/2022/11/foto-5-1-11.jpg)
![foto-5-1-1[1]](https://fgmdentalgroup.com/wp-content/uploads/2022/11/foto-5-1-11.jpg)
![foto-5-1-1[1]](https://fgmdentalgroup.com/wp-content/uploads/2022/11/foto-5-1-11.jpg)
![foto-1-15[1]](https://fgmdentalgroup.com/wp-content/uploads/2022/11/foto-1-151.jpg)
![foto-1-15[1]](https://fgmdentalgroup.com/wp-content/uploads/2022/11/foto-1-151.jpg)
![foto-1-15[1]](https://fgmdentalgroup.com/wp-content/uploads/2022/11/foto-1-151.jpg)
![foto-2-2-1[1]](https://fgmdentalgroup.com/wp-content/uploads/2022/11/foto-2-2-11.jpg)
![foto-2-2-1[1]](https://fgmdentalgroup.com/wp-content/uploads/2022/11/foto-2-2-11.jpg)
![foto-2-2-1[1]](https://fgmdentalgroup.com/wp-content/uploads/2022/11/foto-2-2-11.jpg)
![foto-3-2-1[1]](https://fgmdentalgroup.com/wp-content/uploads/2022/11/foto-3-2-11.jpg)
![foto-3-2-1[1]](https://fgmdentalgroup.com/wp-content/uploads/2022/11/foto-3-2-11.jpg)
![foto-3-2-1[1]](https://fgmdentalgroup.com/wp-content/uploads/2022/11/foto-3-2-11.jpg)
![foto-4-2[1]](https://fgmdentalgroup.com/wp-content/uploads/2022/11/foto-4-21.jpg)
![foto-4-2[1]](https://fgmdentalgroup.com/wp-content/uploads/2022/11/foto-4-21.jpg)
![foto-4-2[1]](https://fgmdentalgroup.com/wp-content/uploads/2022/11/foto-4-21.jpg)
![foto-5-1-1[1]](https://fgmdentalgroup.com/wp-content/uploads/2022/11/foto-5-1-11.jpg)
![foto-5-1-1[1]](https://fgmdentalgroup.com/wp-content/uploads/2022/11/foto-5-1-11.jpg)
![foto-5-1-1[1]](https://fgmdentalgroup.com/wp-content/uploads/2022/11/foto-5-1-11.jpg)


We provide direct links to publications from major scientific portals containing studies conducted with our products.