Author: Prof. Dr. Patricio Runnacles
Female patient, 48 years old.
CHIEF COMPLAINT
Get the definitive crown as soon as possible.
INTRODUCTION
A new era in the oral rehabilitation of patients with conventional fixed prostheses or unitary, partial, or full implants seems to be consolidating. For decades, there has been a pursuit for technological development. A new way to transfer the necessary information from the patient’s mouth to the laboratory bench.
In the context of oral rehabilitation, moldings play an essential role in the manufacture of any type of prosthesis, since without this step, a link in the restorative chain is broken. Although conventional molding is a common step in the dental clinic, it presents several problems, such as bubbles, tears, compression of tissues, distortion of the material itself, distortion of the plaster of the model, working time, pouring time, collection or shipping requirements, etc. Thus, mold selection, stock of molding materials, plaster, and other materials will be less and less used to mold and transfer, being replaced by digital workflow.
By means of an intraoral scan, the collection of images is compiled. With the help of a software, a digital copy of the region that has been scanned is reproduced. From that moment, the whole process of planning, waxing, and designing the future prosthetic part is done on the computer. Thus, the physical model is often no longer needed.
This new way of clinical practice–the digital workflow–is increasingly present in dental clinics, adding convenience, precision, and predictability to restorative procedures, and offers several advantages both for the clinician and for the patient as well as for the prosthesis laboratory. This was the means chosen to perform the steps of transferring the spatial position of the implant.
In this article we present a case report in which the patient sought treatment to recover her masticatory functions and comfort in the left posterior jaw region. We present these new technologies that have been used, such as the Arcsys implant and digital workflow.
CASE REPORT
The 48-year-old patient sought treatment in a private clinic in the city of Curitiba-PR, where she was rehabilitated with an implant in the region of element 37 and then received the installation of an abutment as a prosthetic component to receive a future unitary screw-retained crown. An immediate provisional in acrylic resin was made using the transfer on PEEK multifunctional abutment for screw-retained restoration as a provisional cylinder. Captured with the resin Bulk Fill Flow APS FGM.
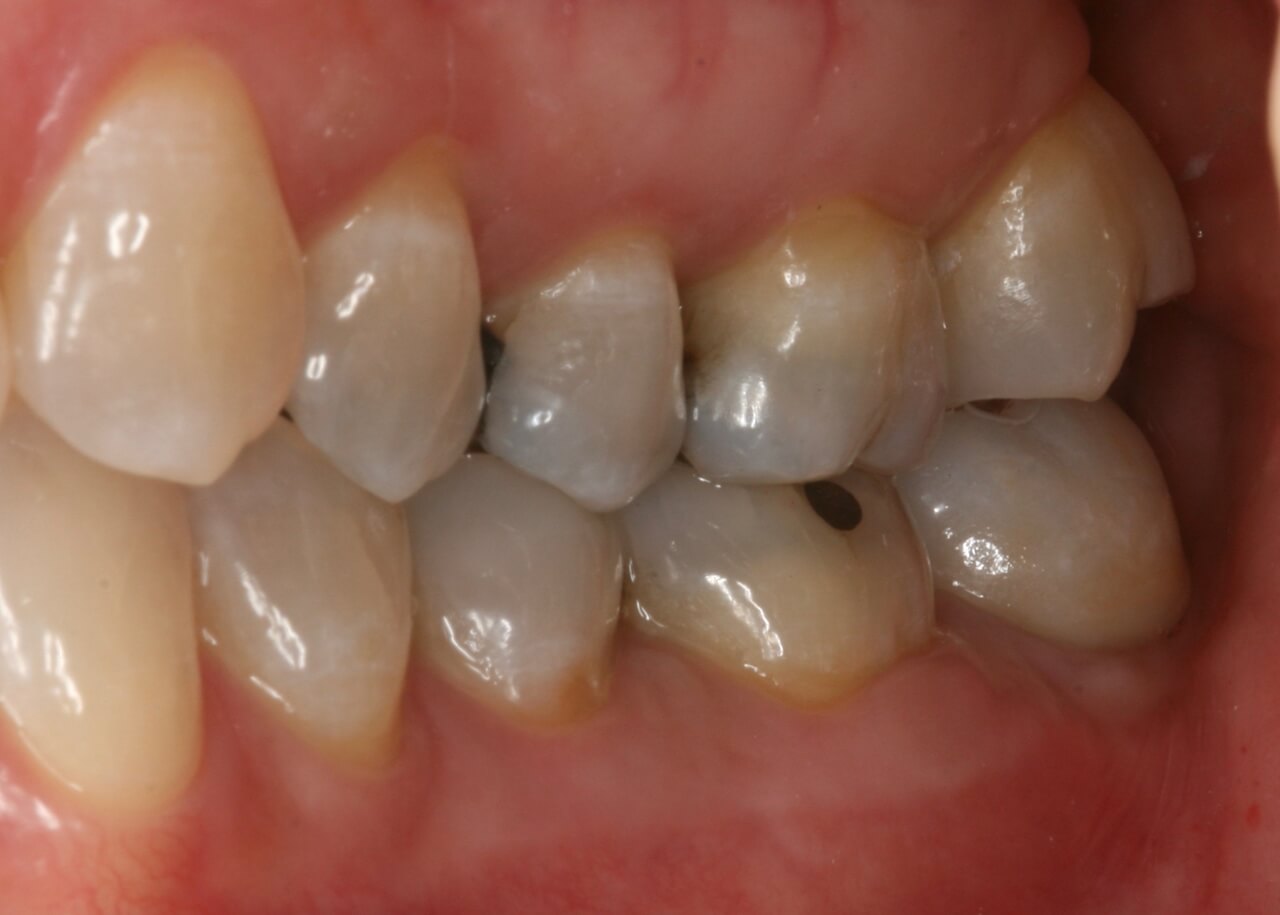
After the necessary period of osseointegration with mature peri-implant tissues (Fig. 1), the patient underwent the definitive prosthetic rehabilitation processes.



ORALINTRAORAL SCANNING
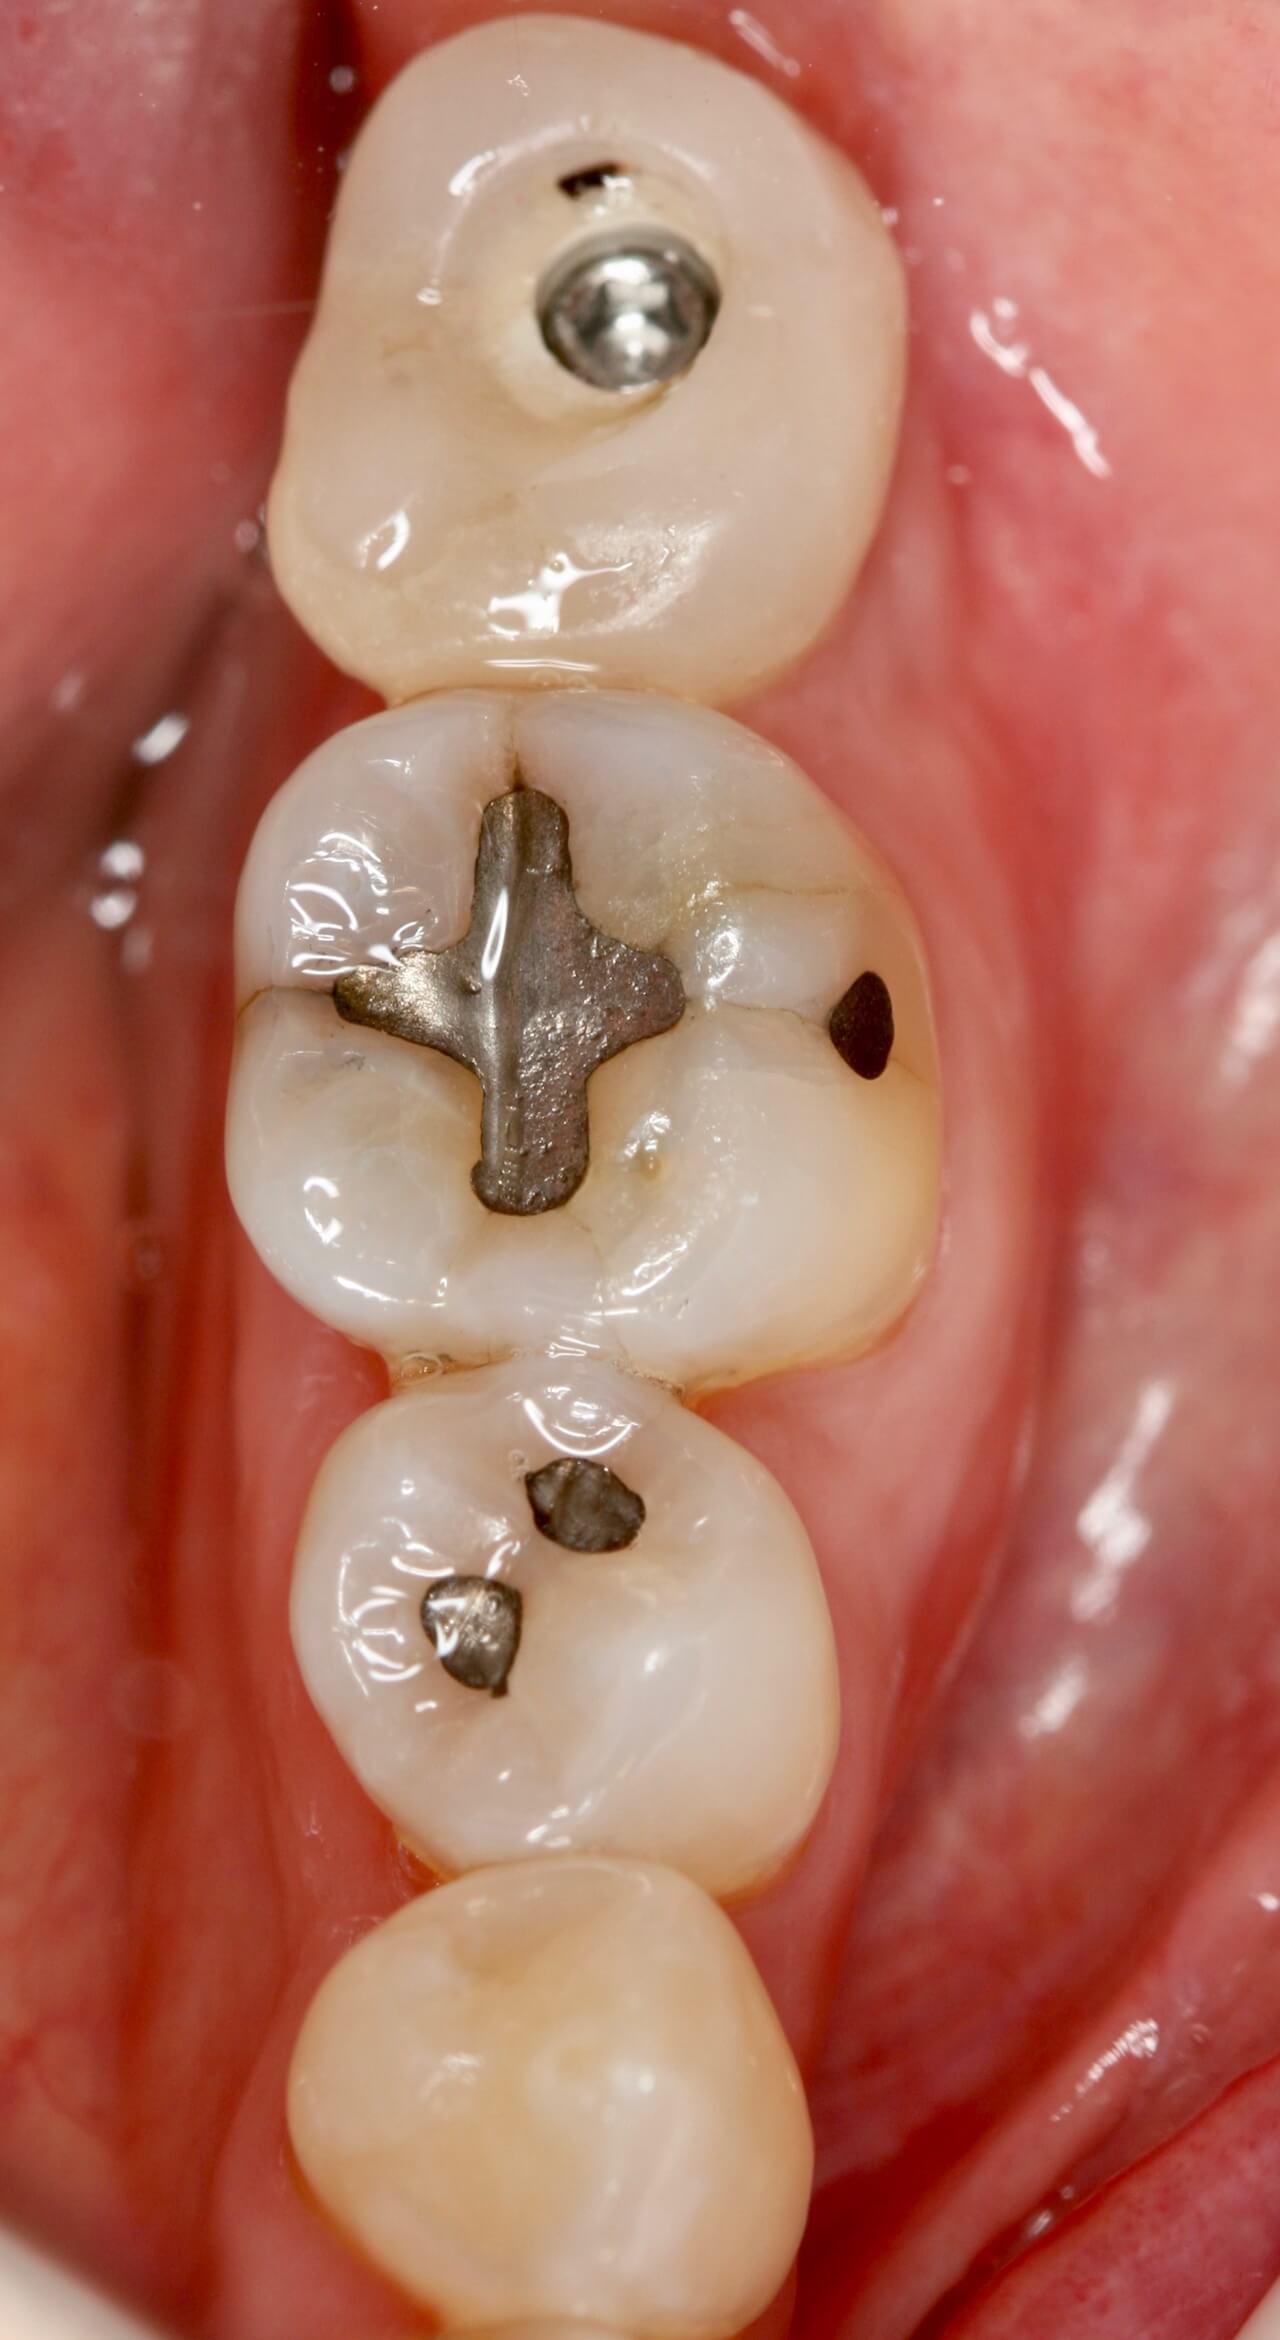
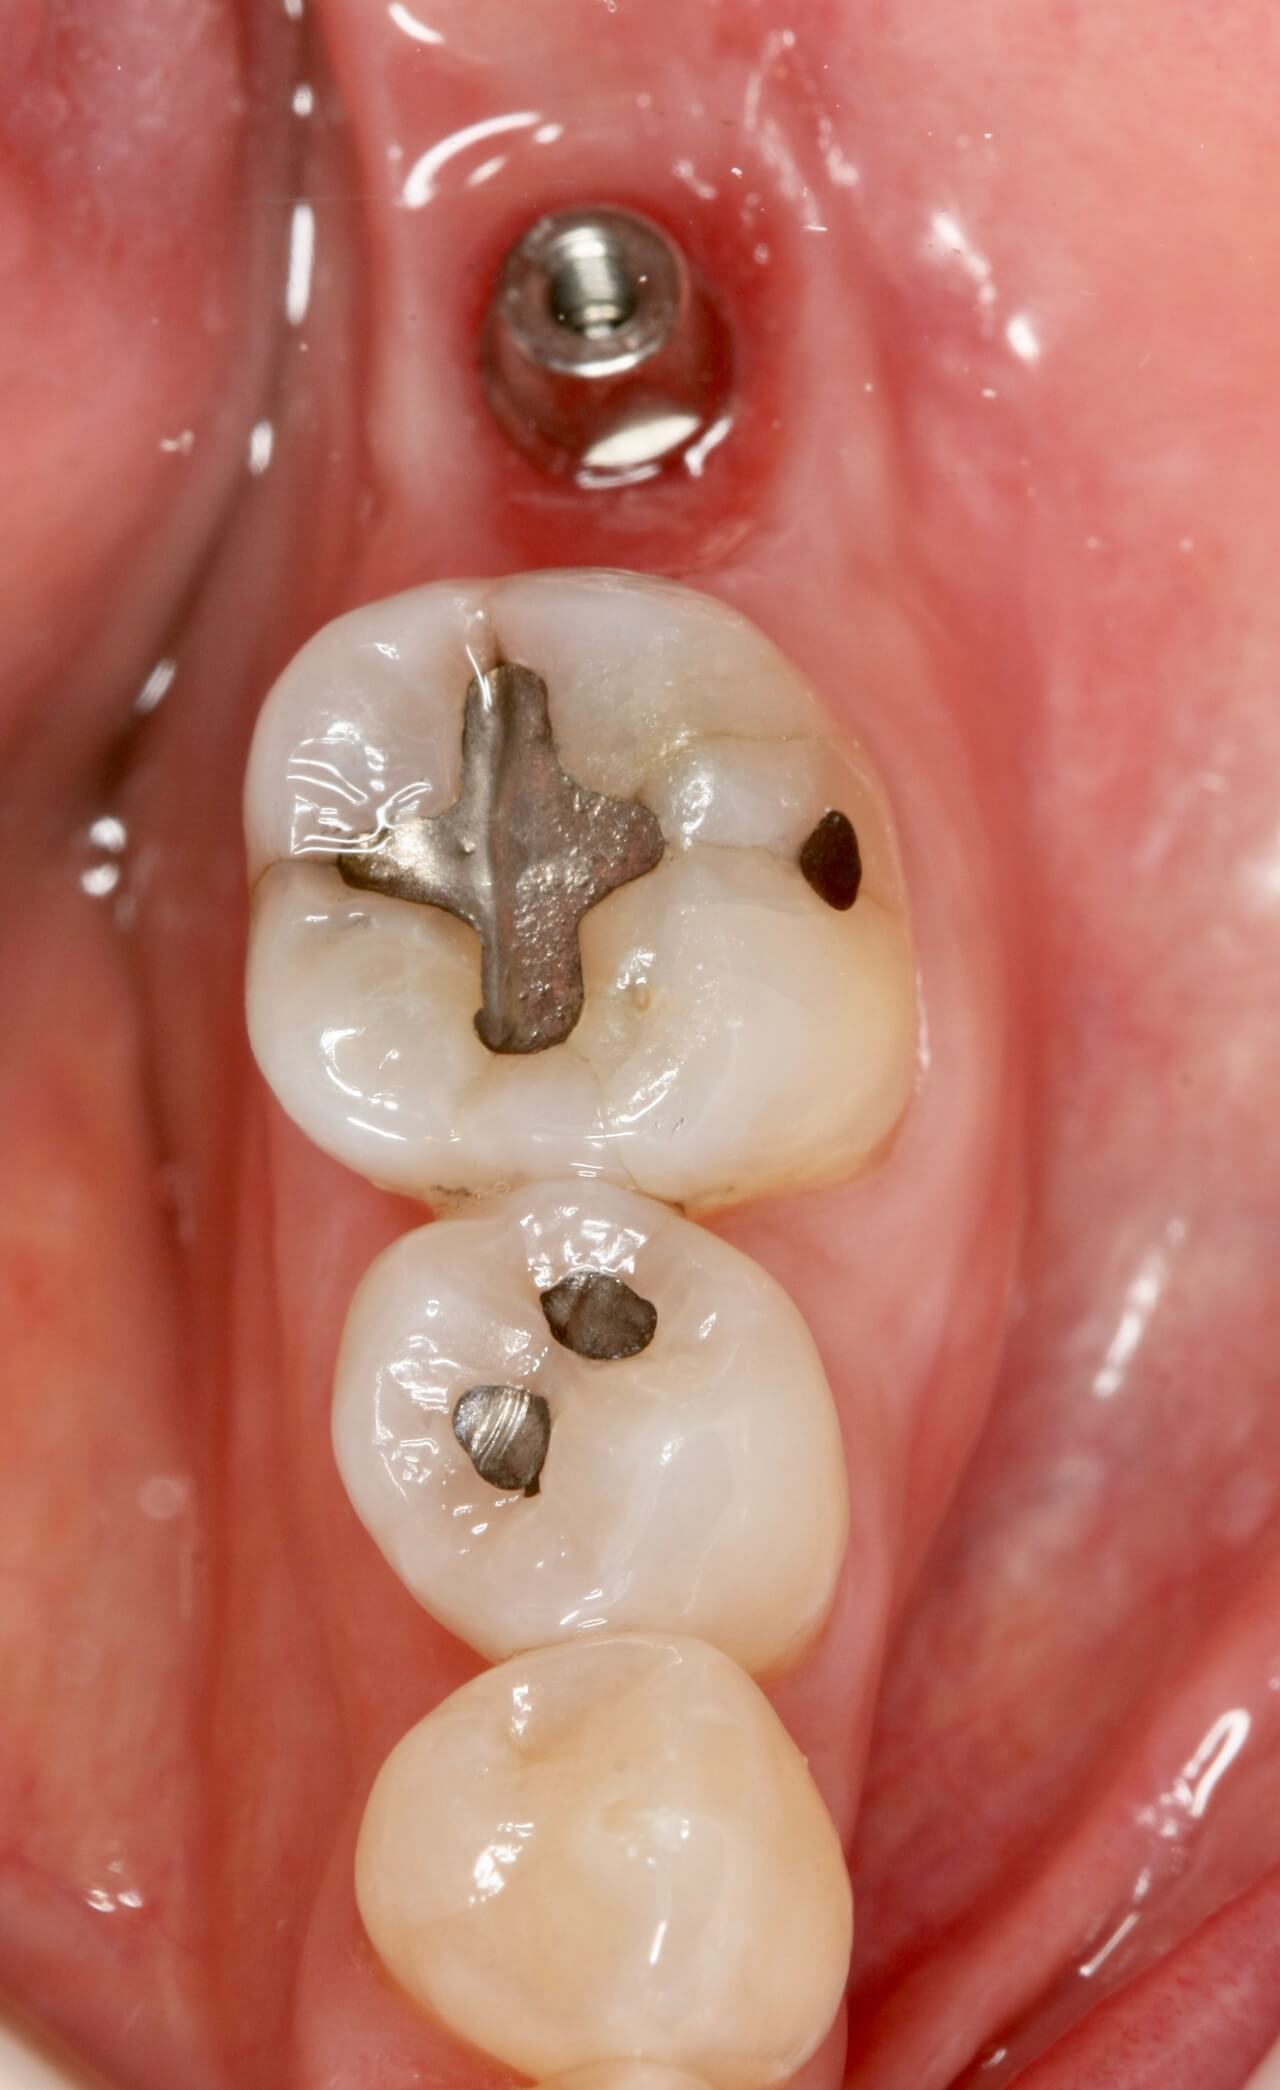
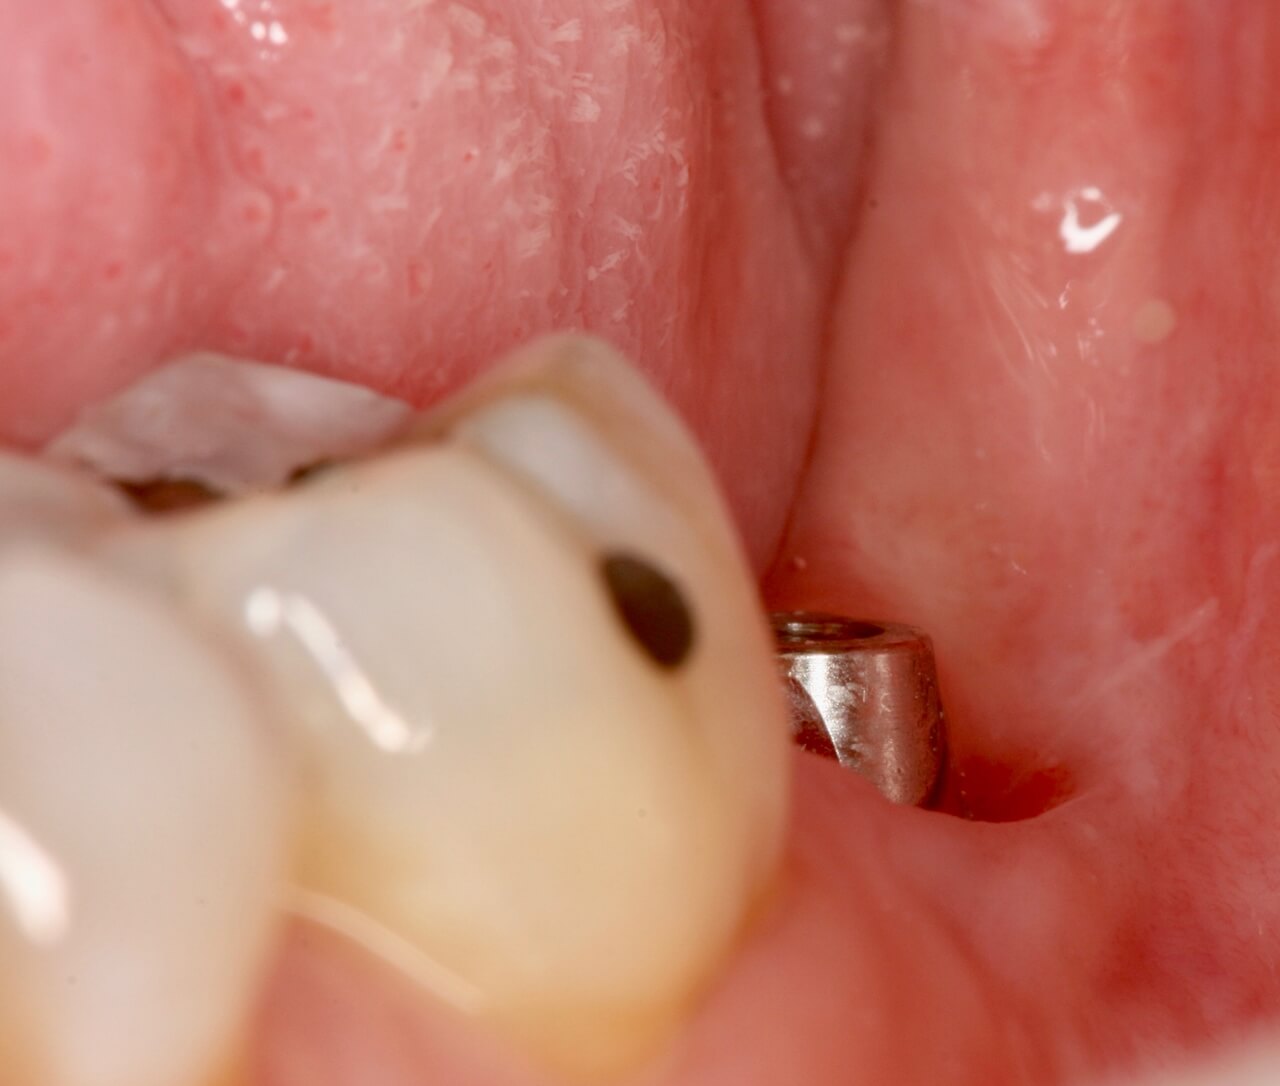
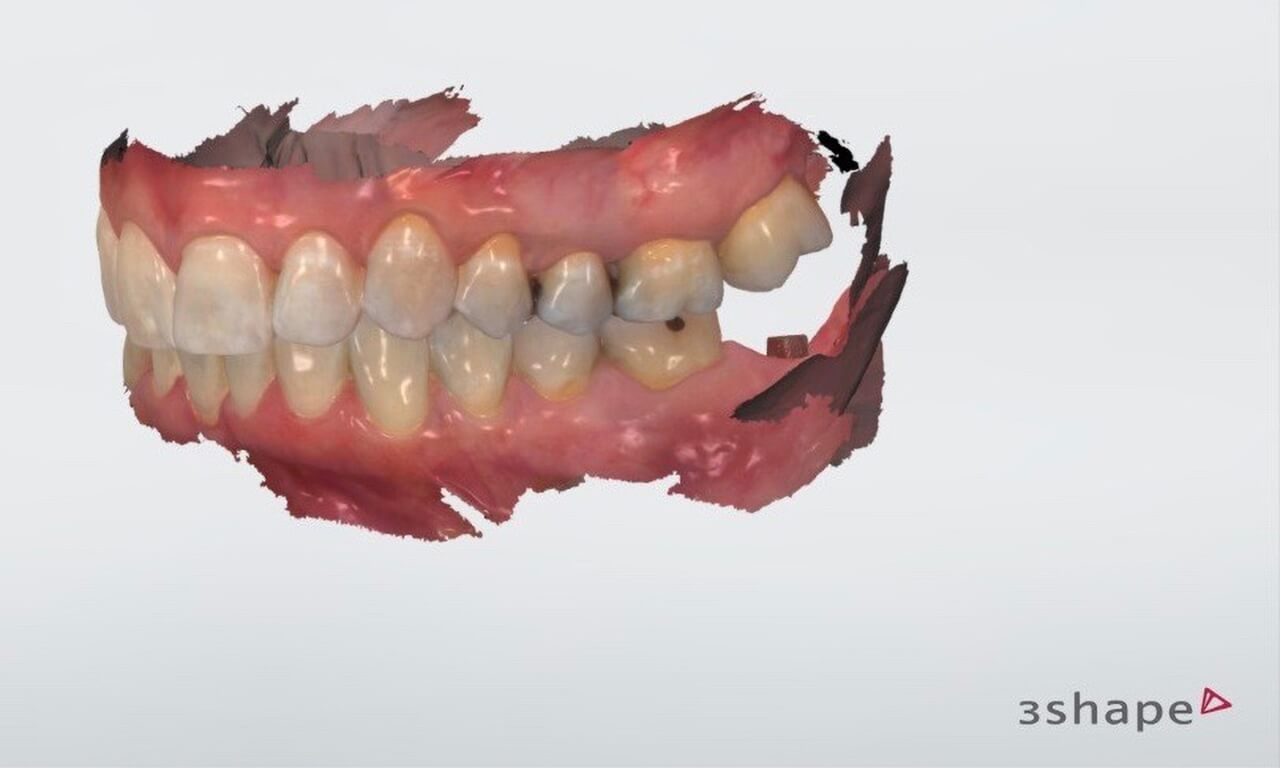
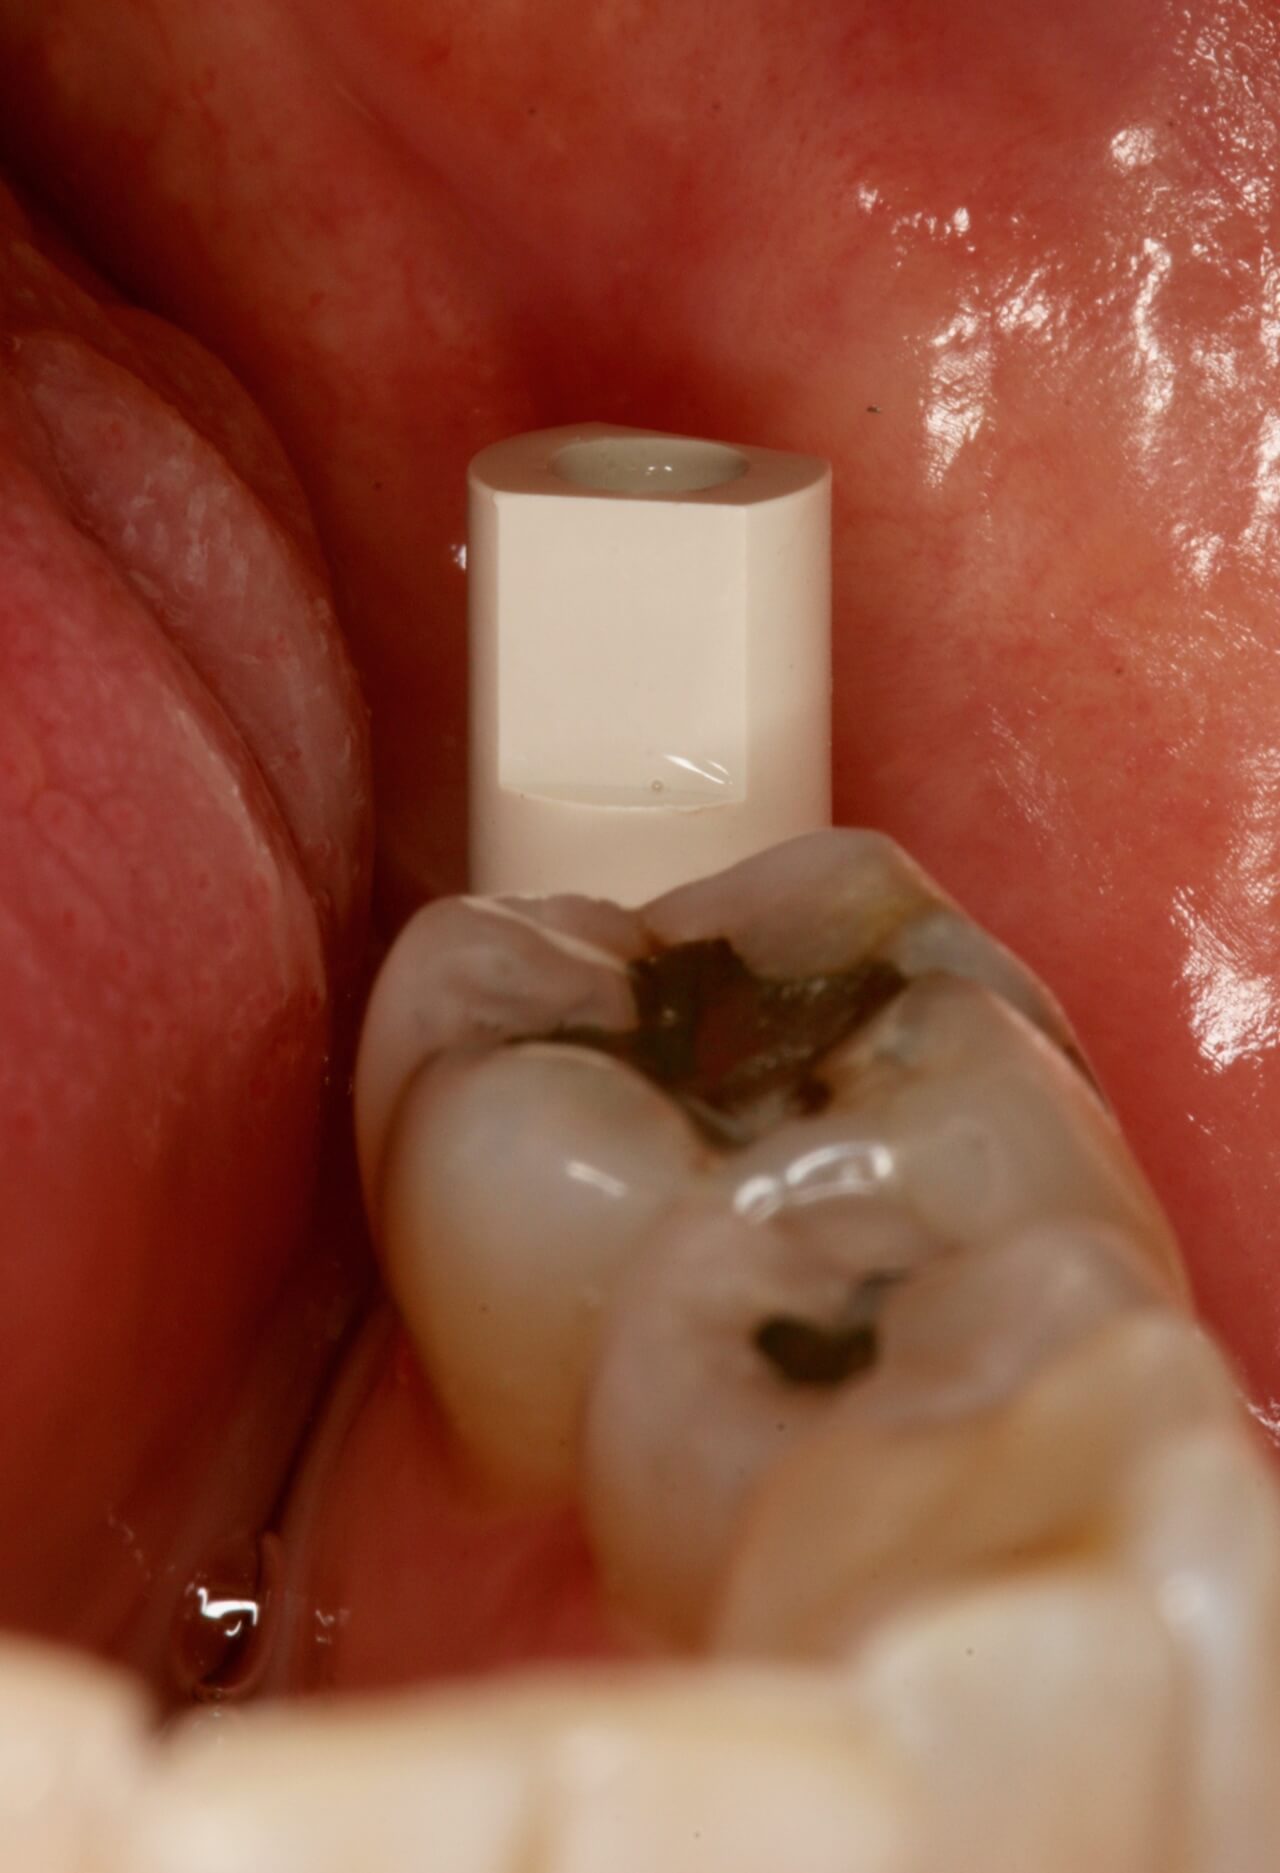
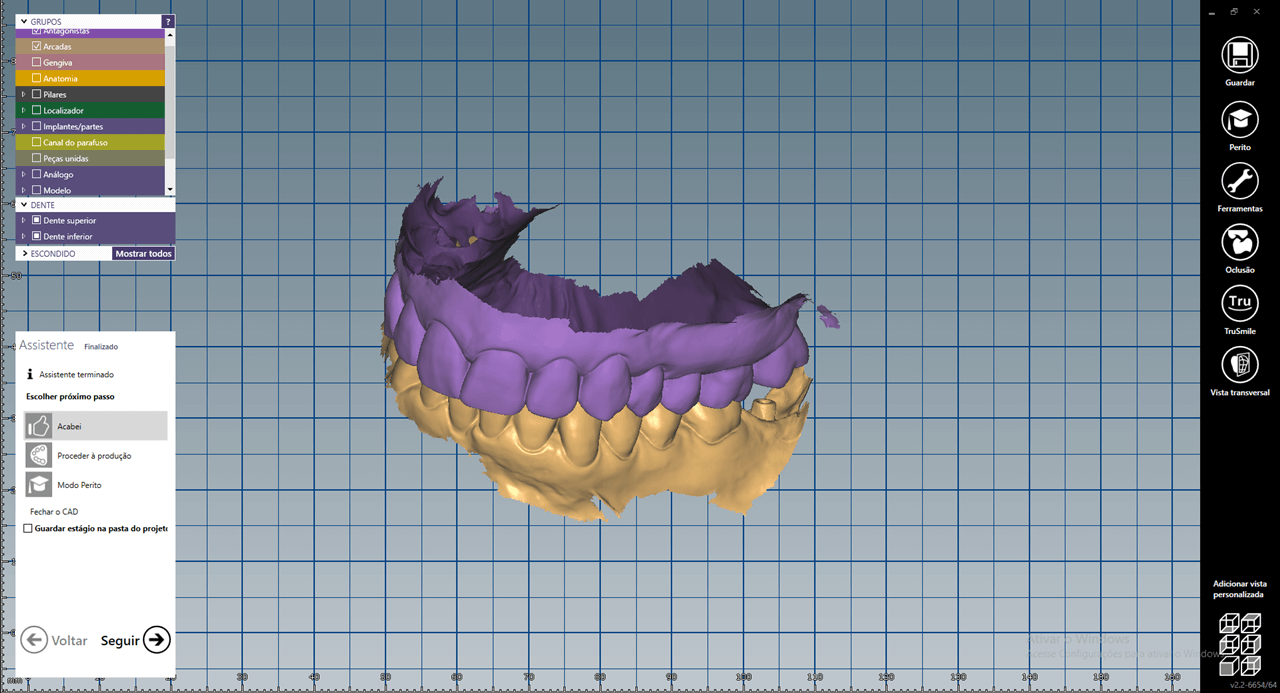
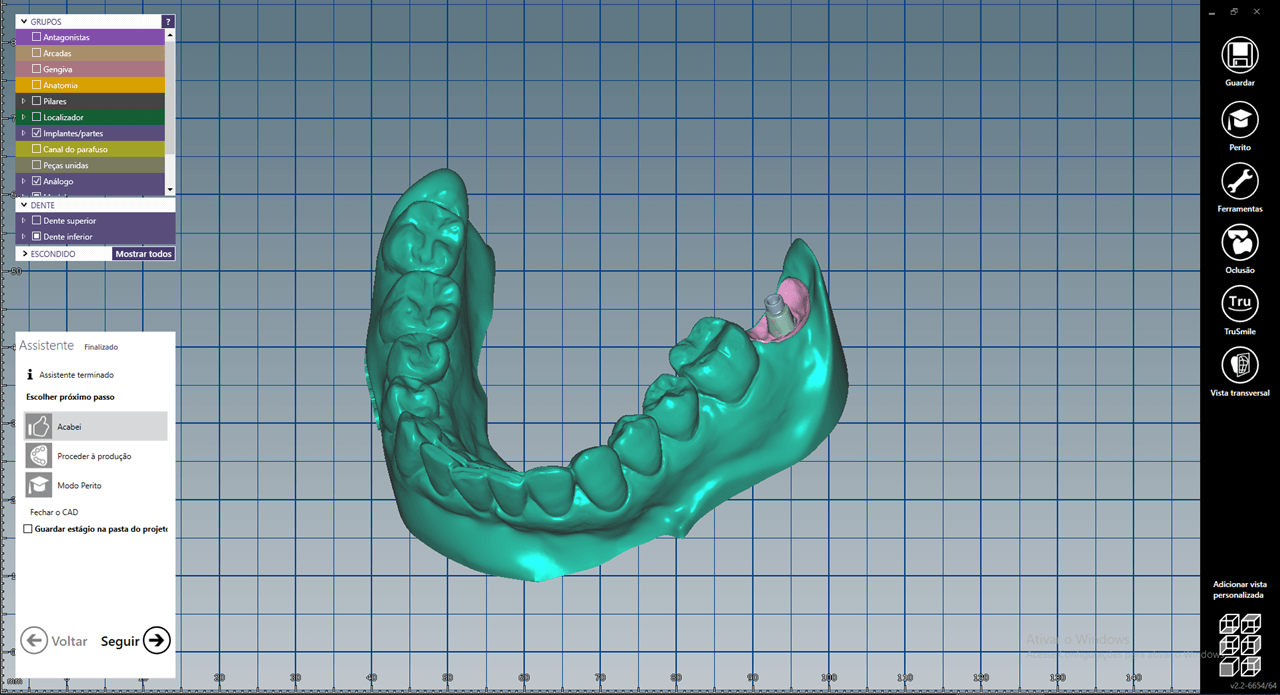
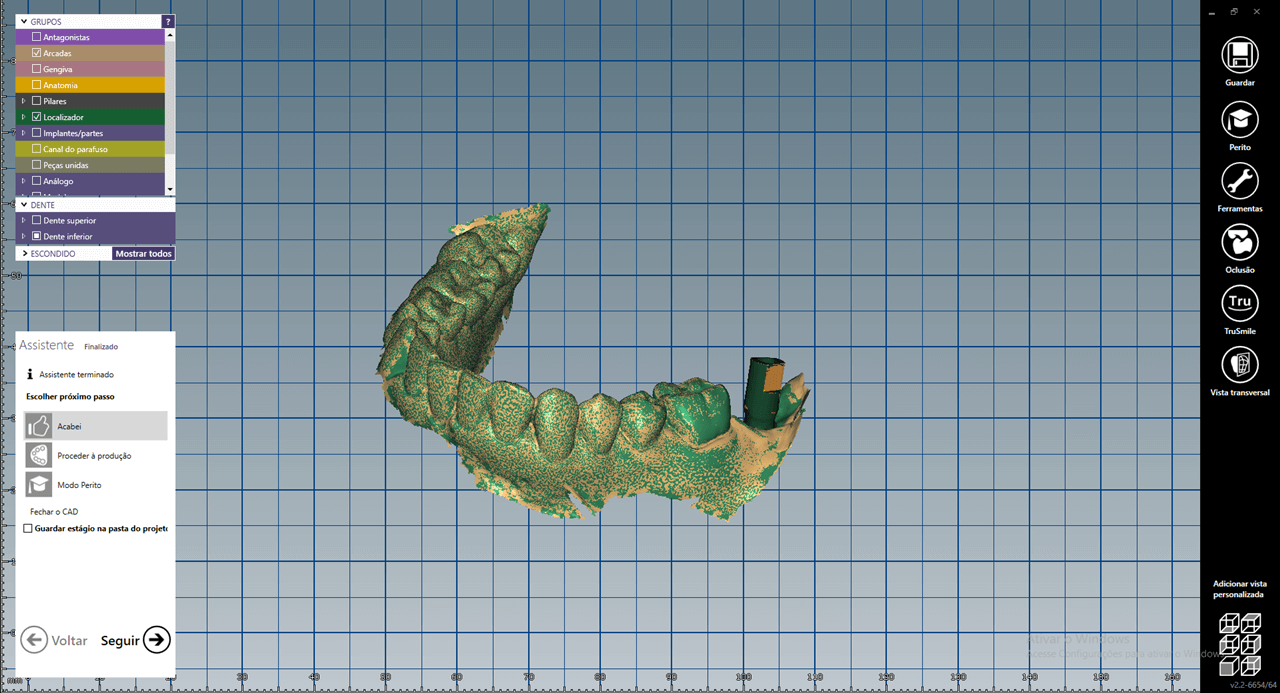
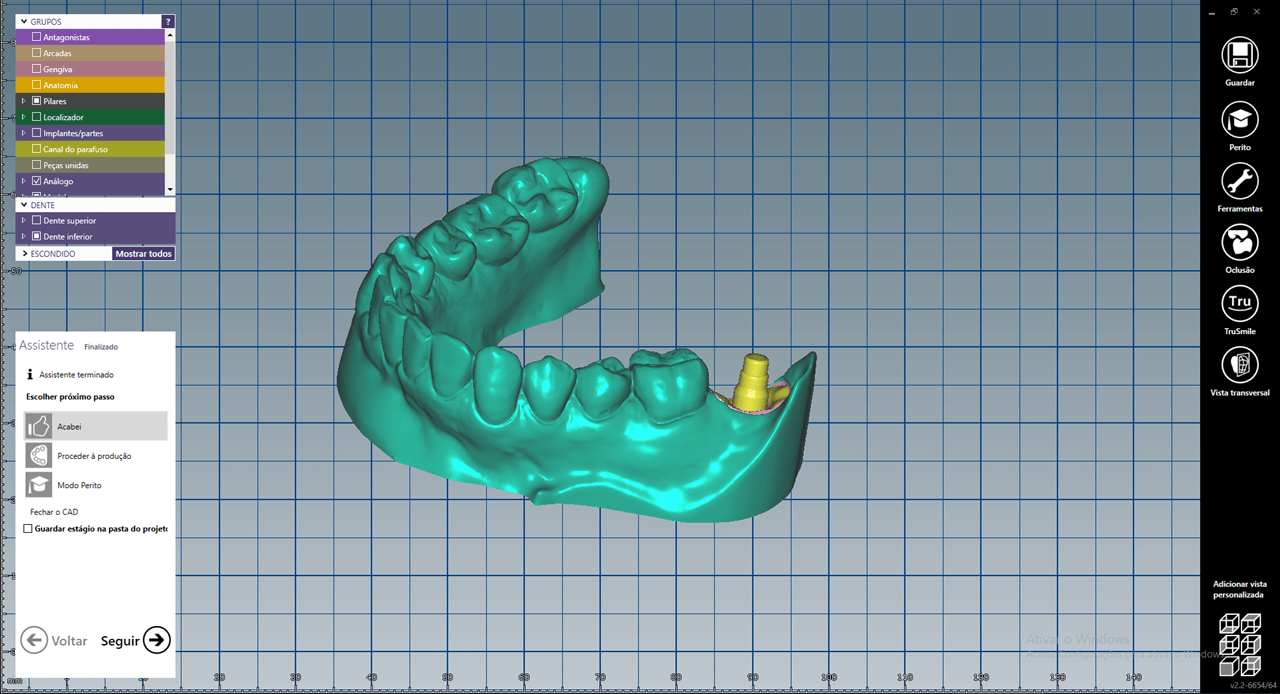
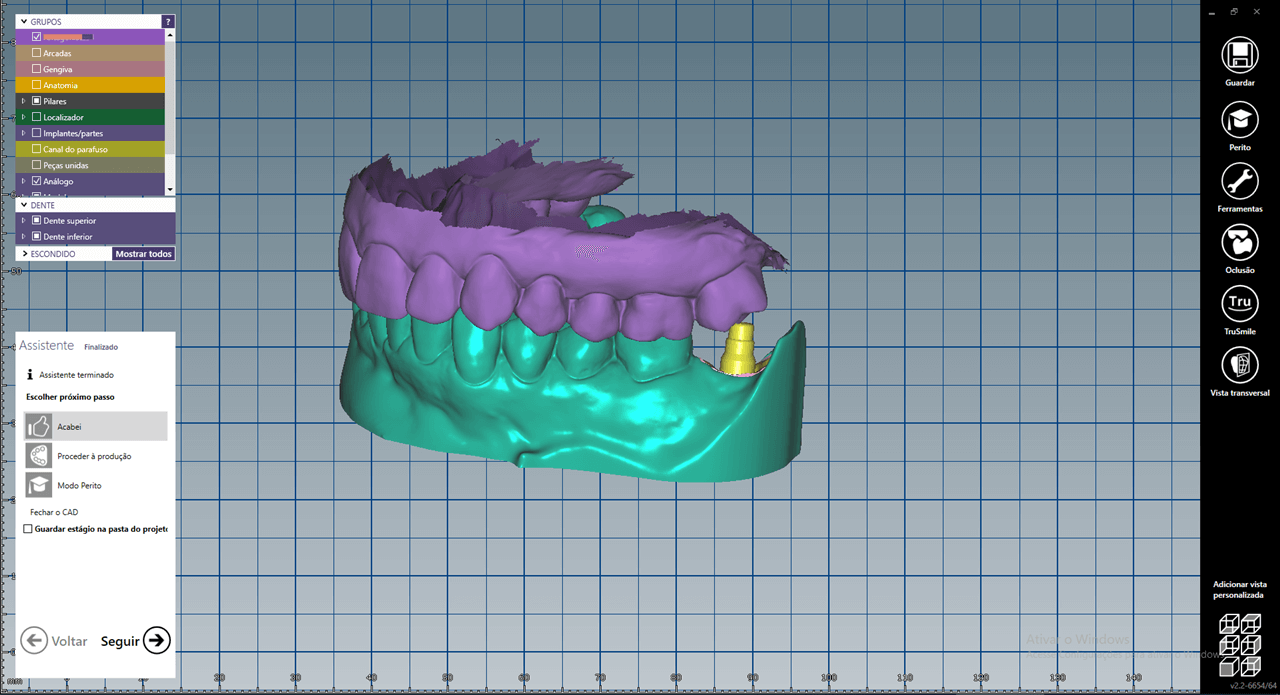
Intraoral scanning was performed in the upper arch and in the lower arch with the provisional restoration in position, the files generated with the images captured by a scanner. The temporary crown was then removed to start scanning and the emergency profile was created (Fig. 2), the Scan Body for the abutment was screwed in (Fig.3) with 10µm of torque, as indicated by the Arcsys FGM system and another scan was done on the implant region (Fig. 4). To complete the scan, new images were captured with the patient in occlusion. The images are then rendered, transformed into STL files with the help of software (Fig. 5).








CAD/CAM
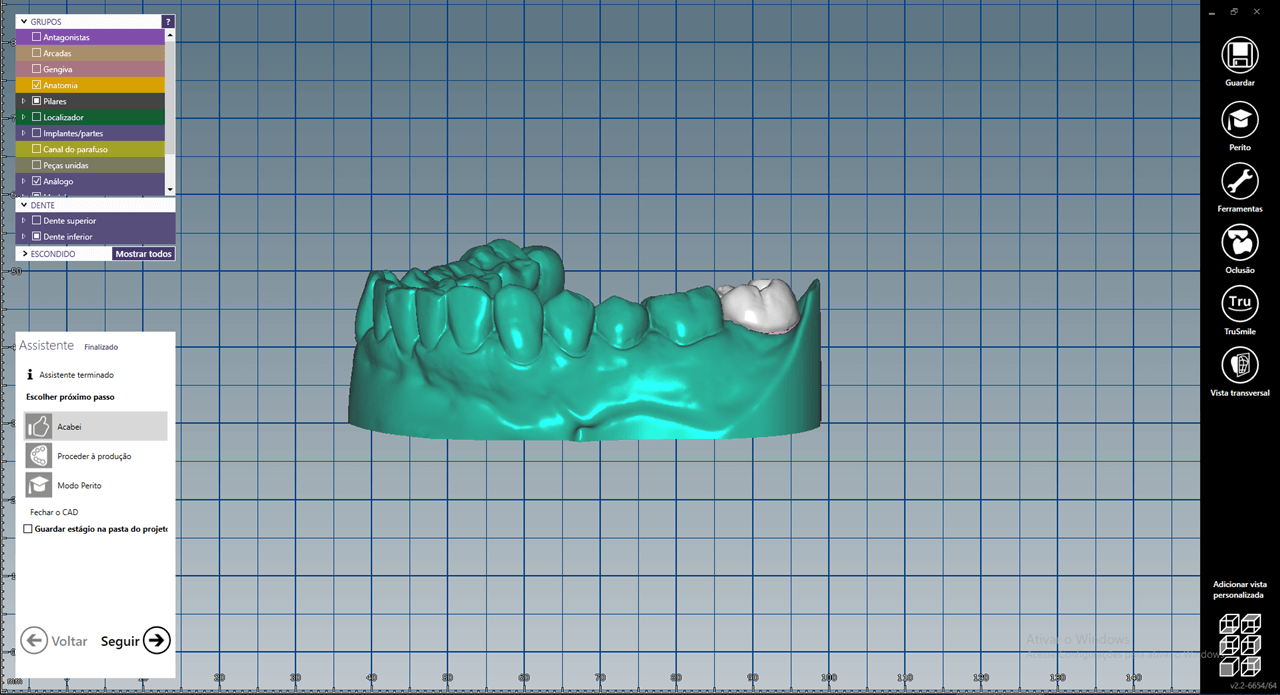
After the images are captured, the CAD process begins (Computer Aided Design). With the files properly selected and exported to another software the second step with CAD (Computer Aided Design) is carried out–the design for manufacturing the definitive crown. A metallic anti-rotational link was selected as the base of the activation in the Digital Library of the Arcsys FGM system (Fig.6). The crown of the second lower molar was digitally manufactured (Fig. 7). For this case, a monolithic zirconia infrastructure with a 1 mm cutback was defined to create room for makeup and layering of the final layer. With the design of this infrastructure finished, the TPD exports the files and starts the CAM (Computer Aided Manufacturing) process of milling the part and subsequent make-up and layering. Once the crown is finished, it is sent to the clinic for proof and installation.




CEMENTATION OF THE METAL LINK
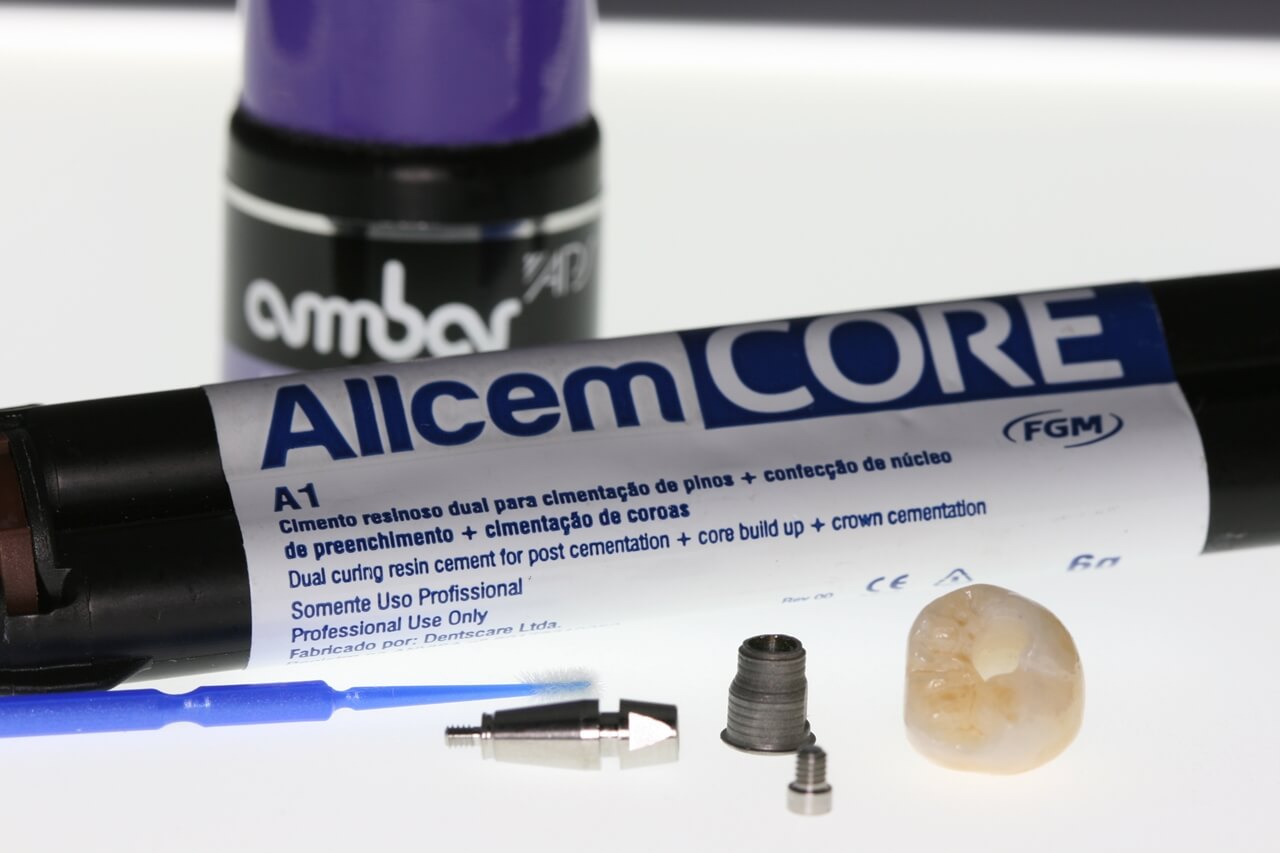
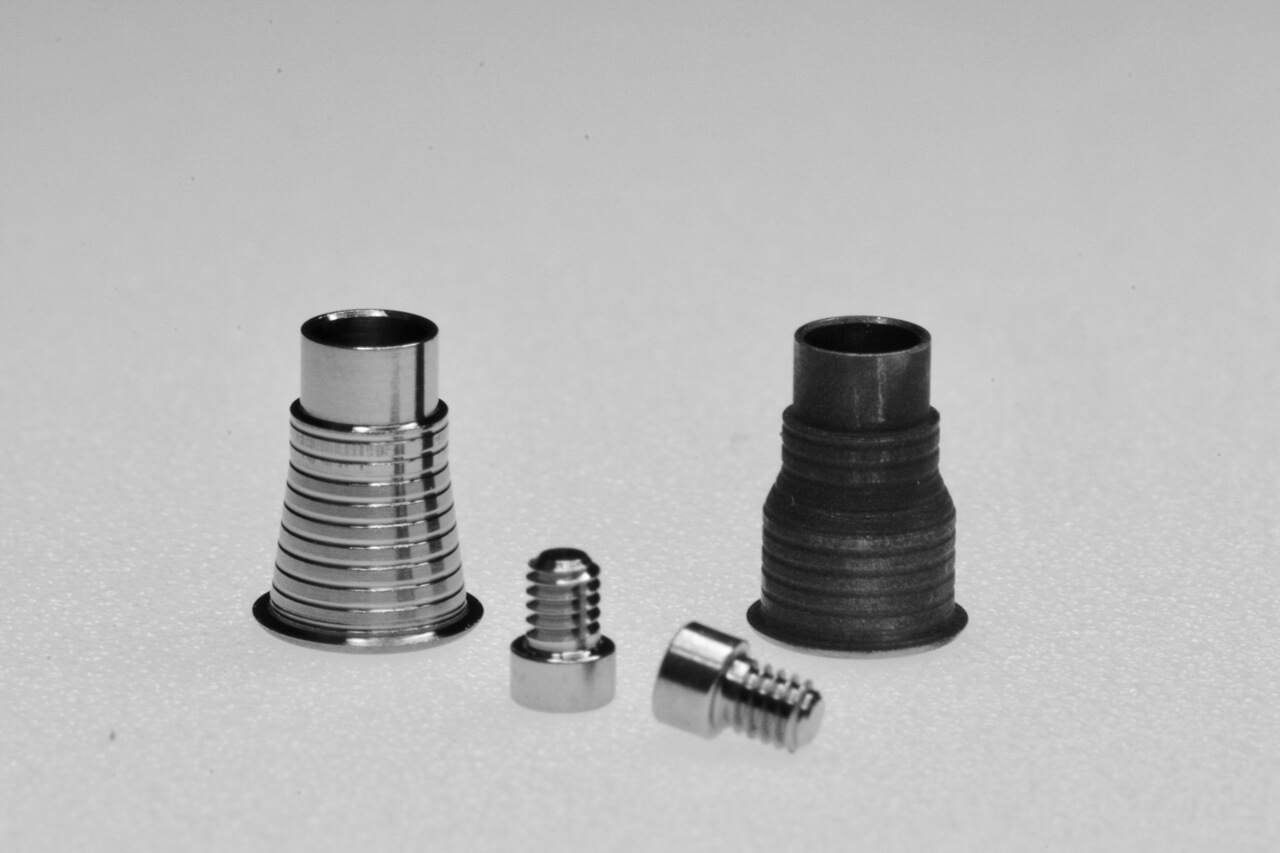
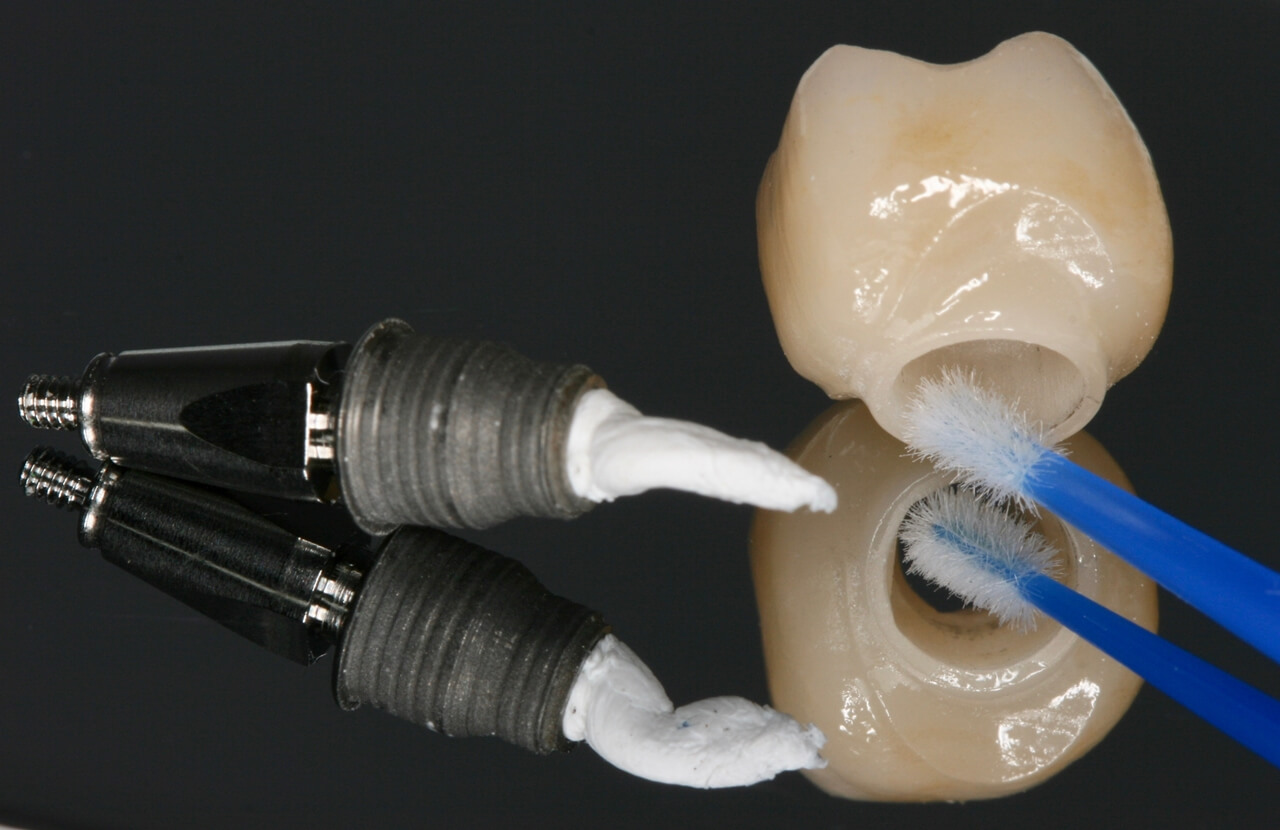
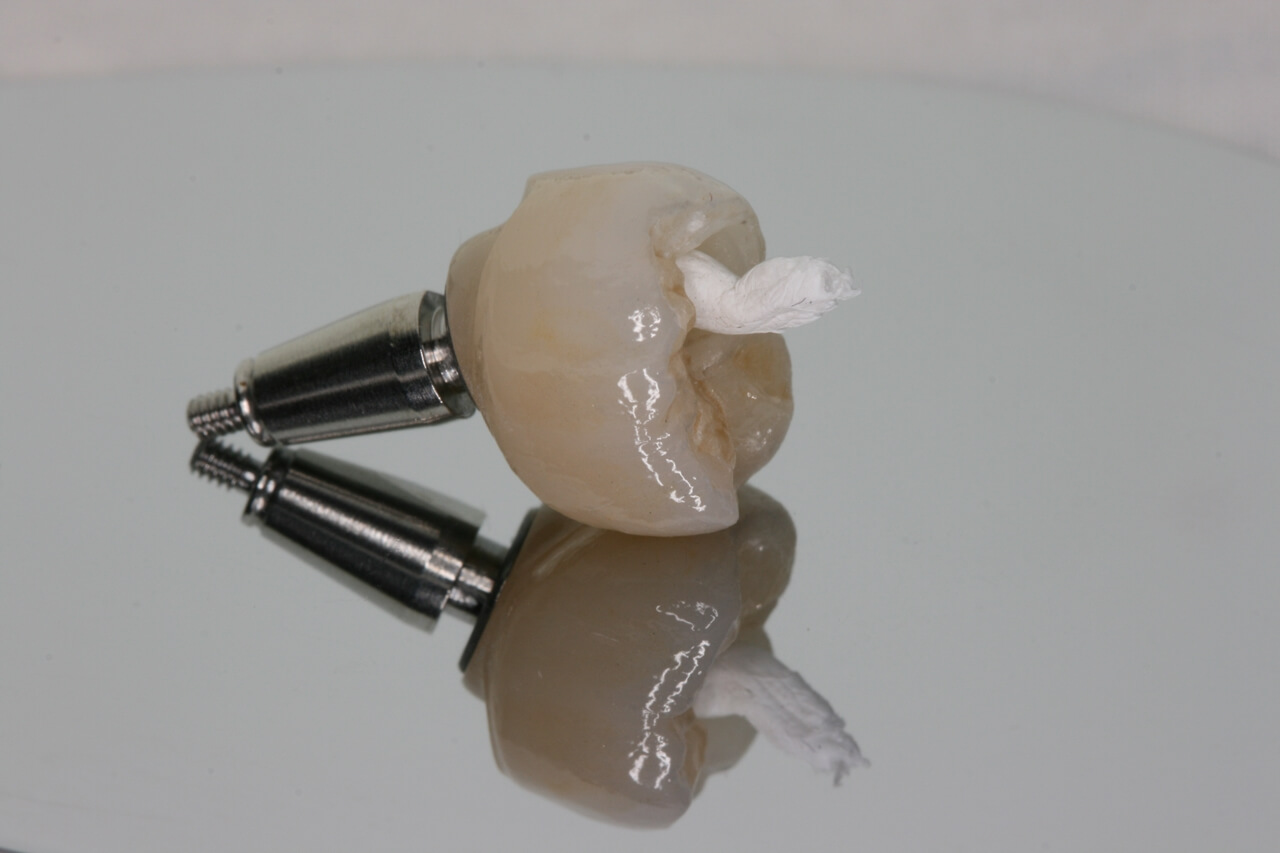
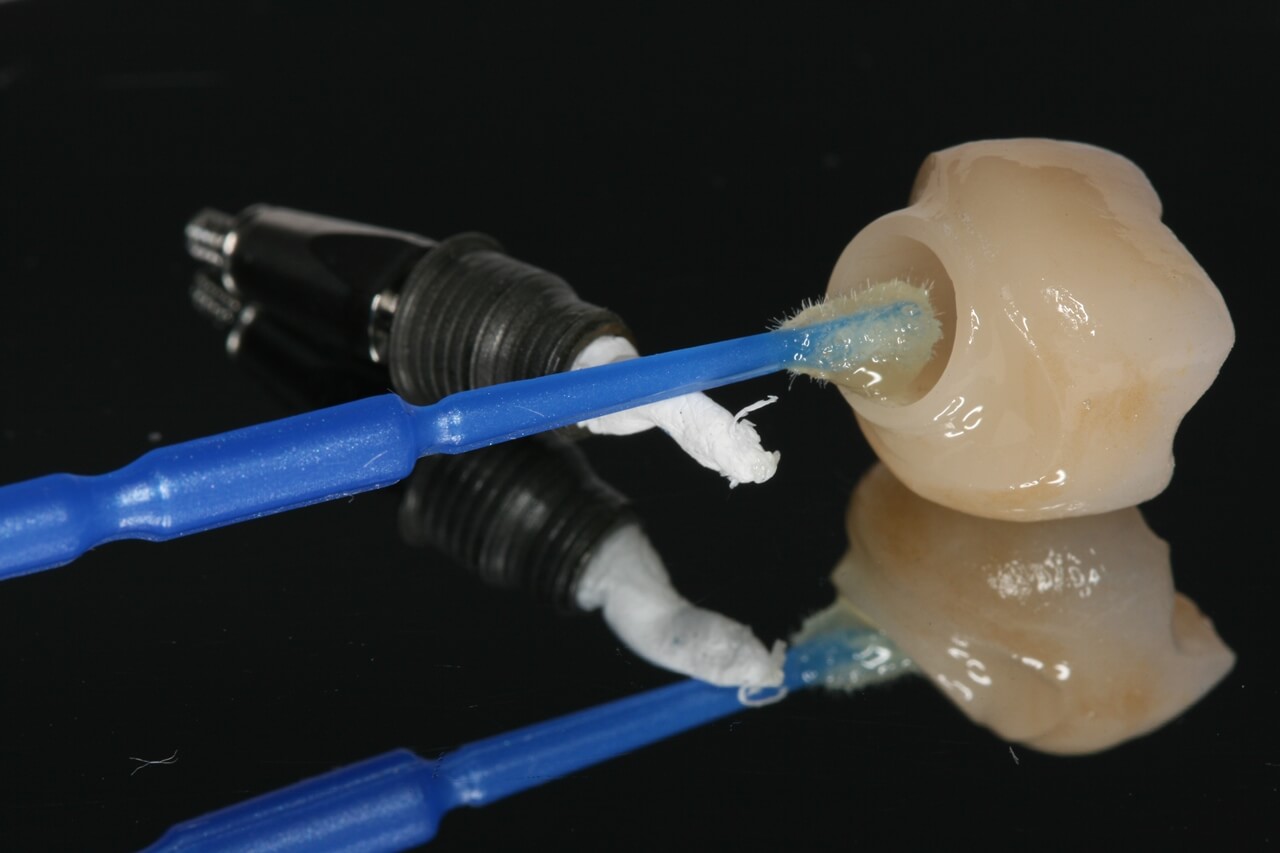
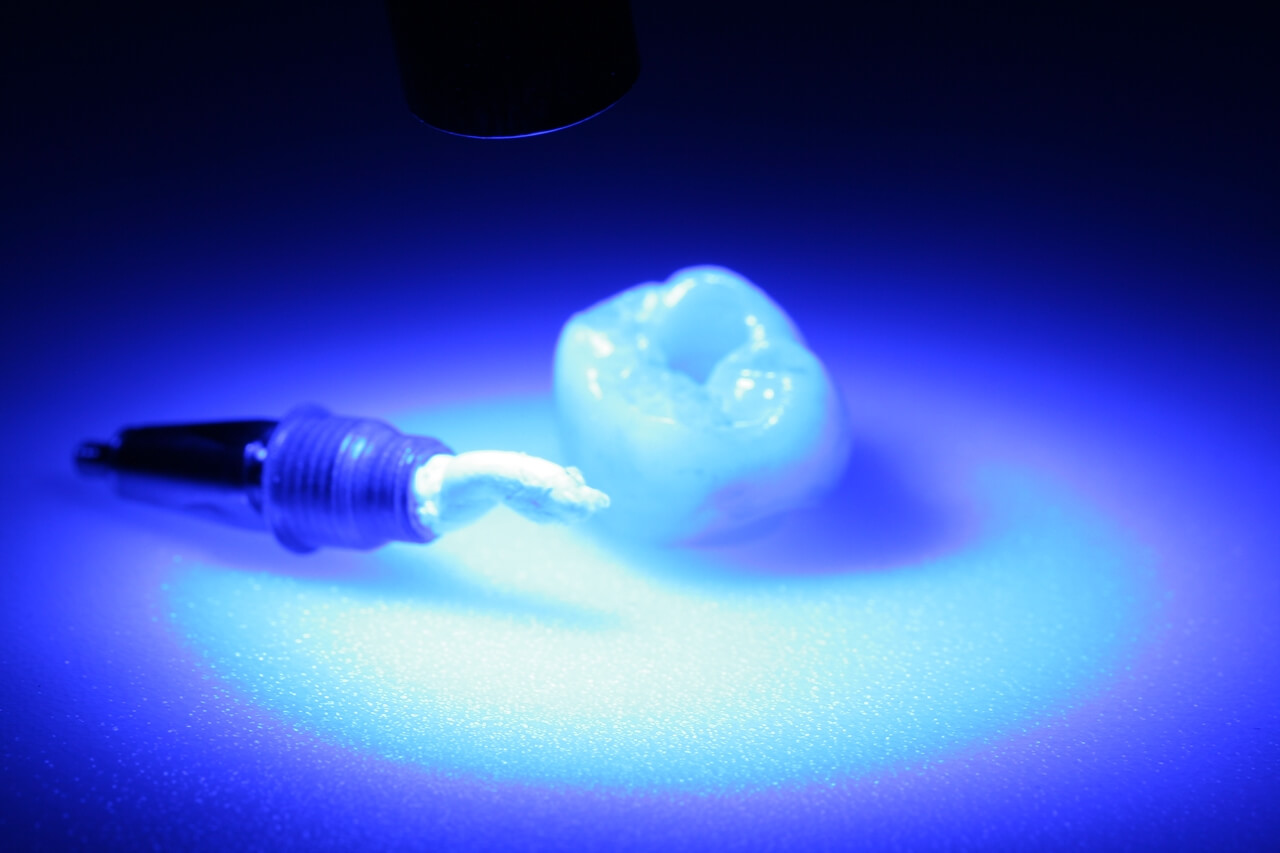
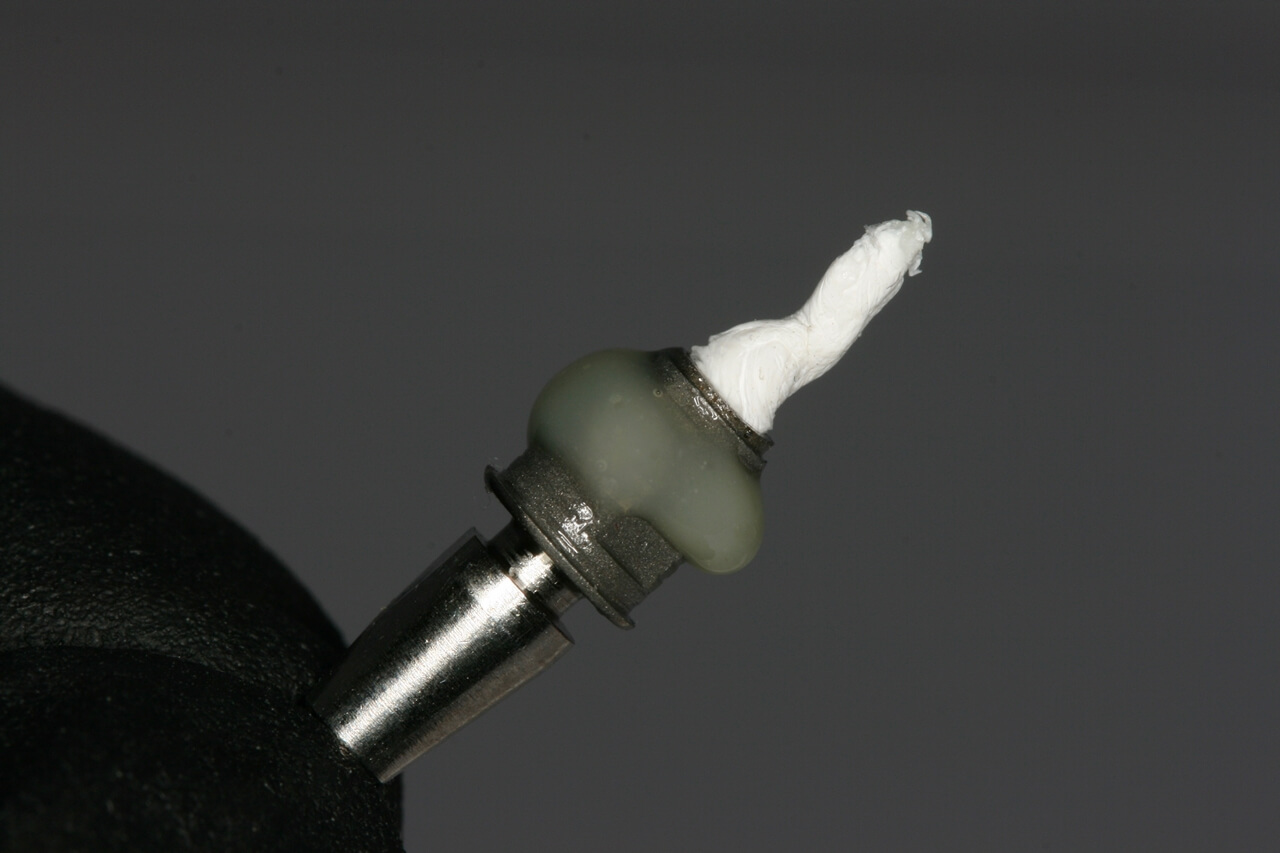
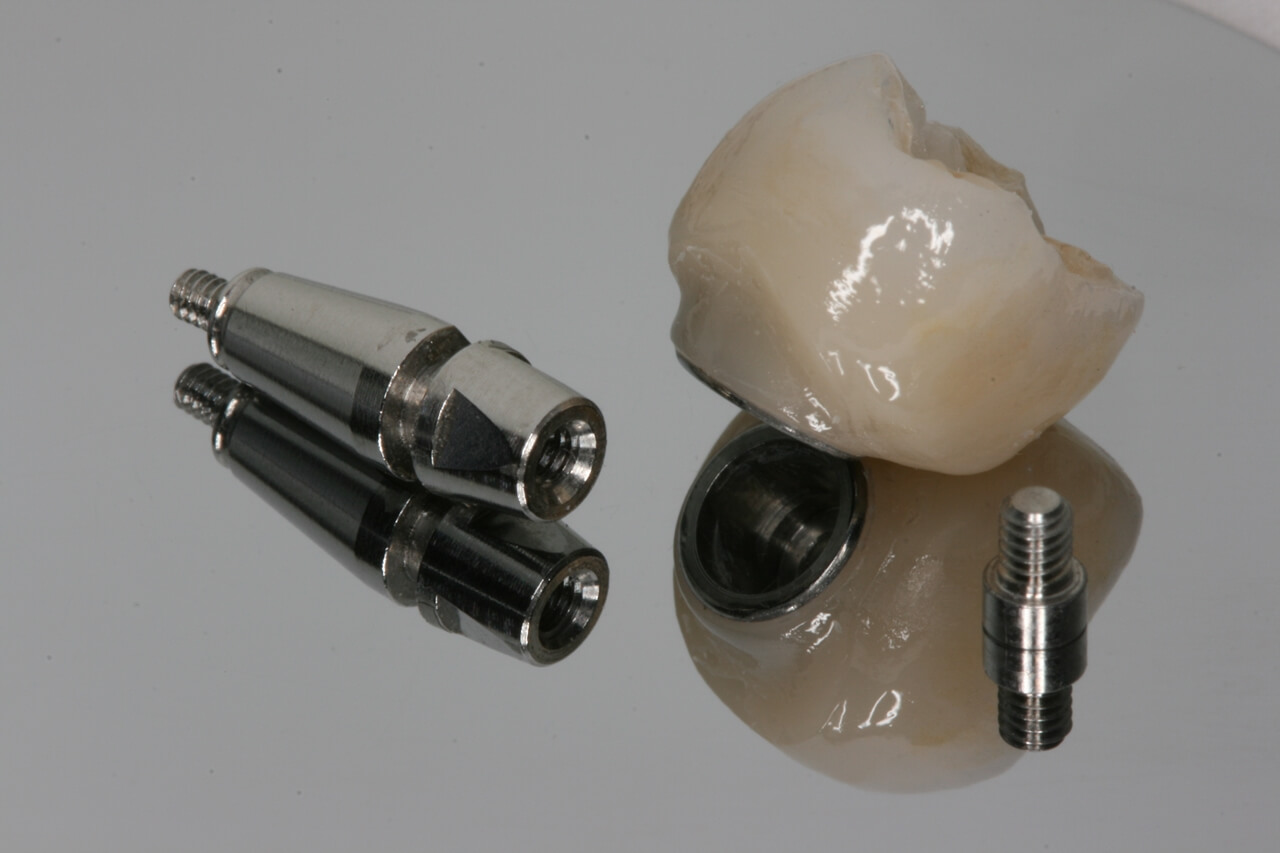
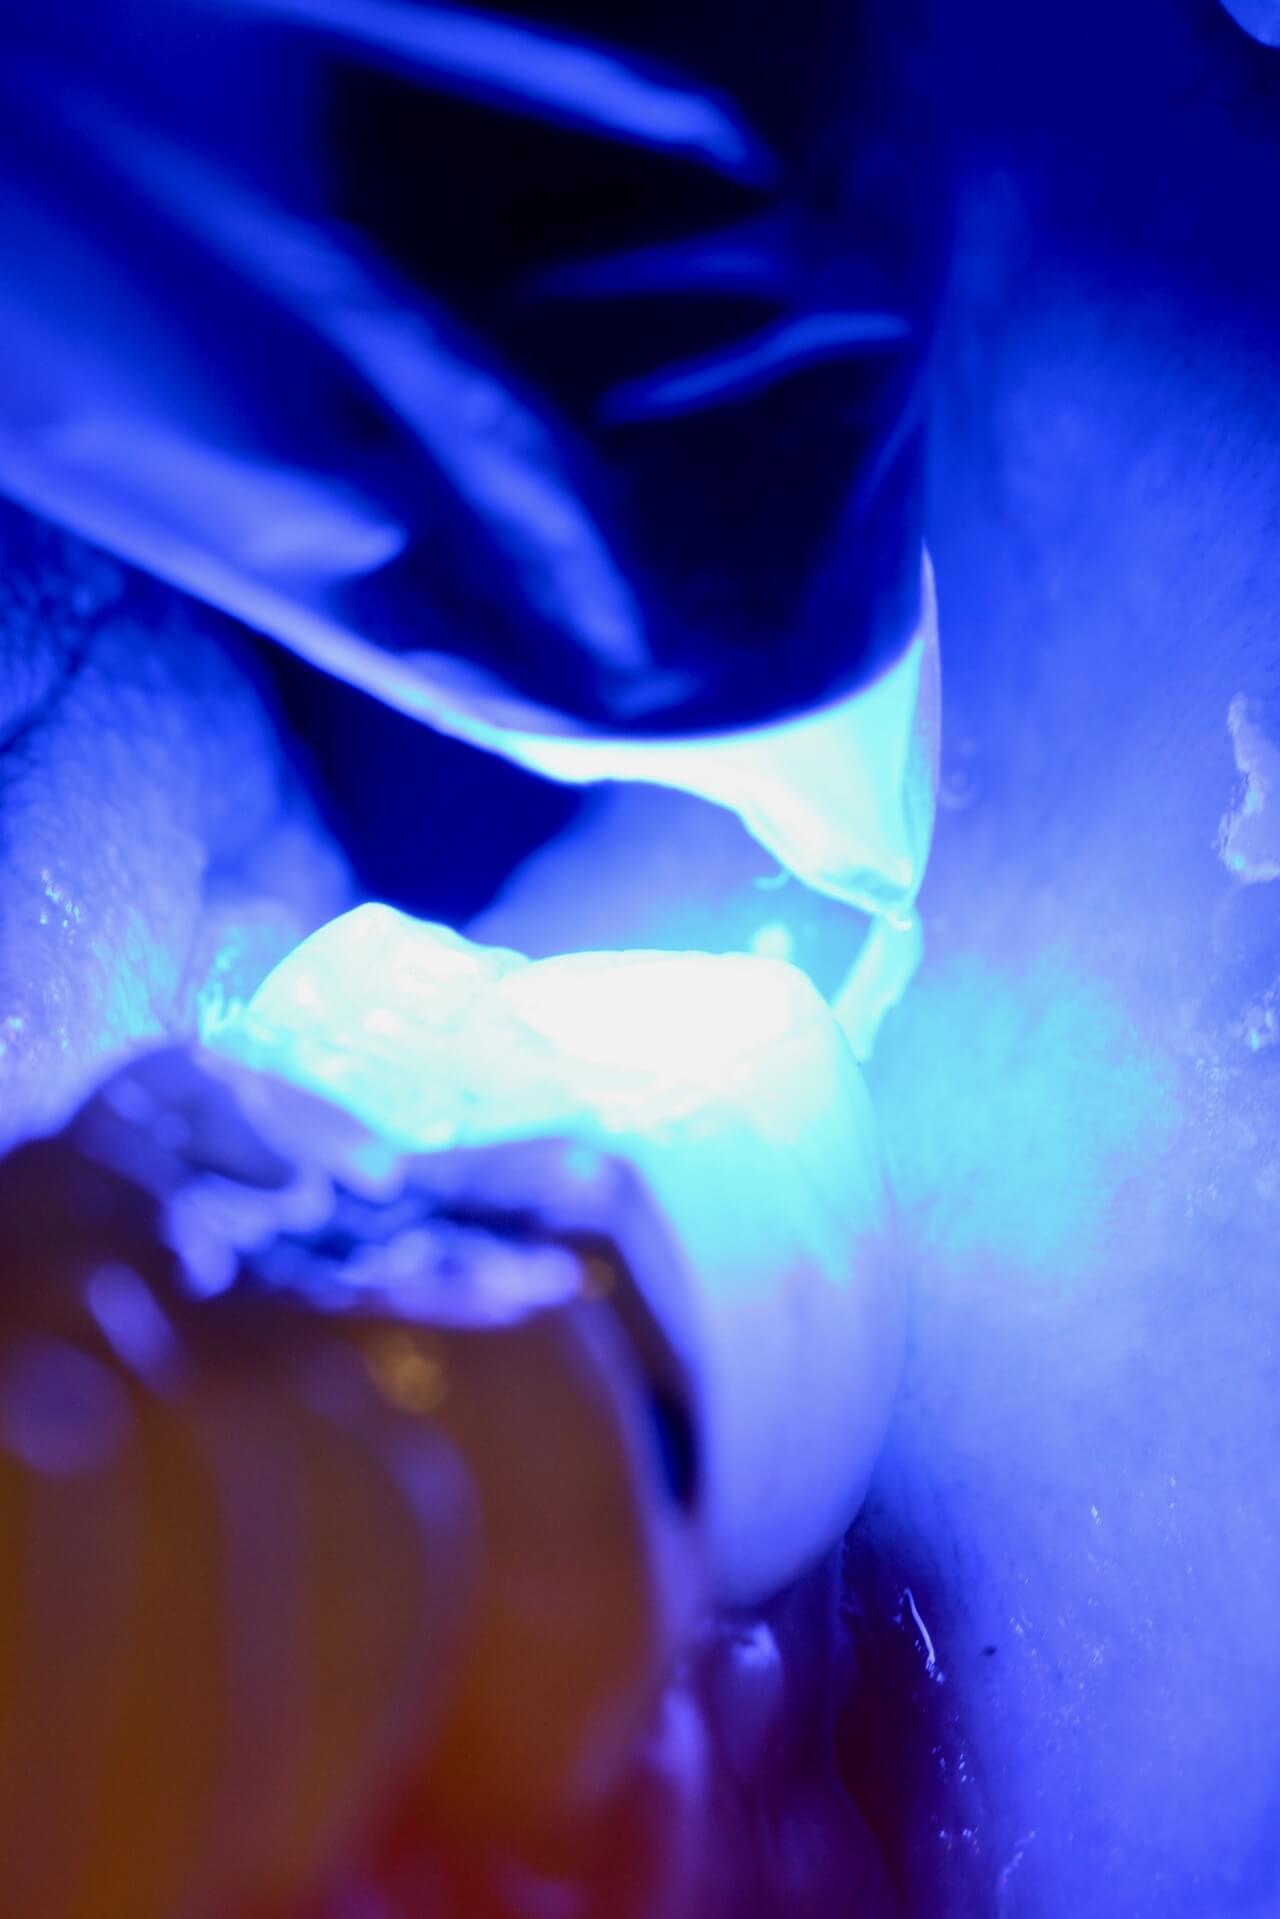
To perform the cementation, blasting of the metal link with aluminum oxide was performed (Fig.8). The screw entry to the link was protected with teflon tape and the parts were cleaned with alcohol 70 [Fig. 9). A thin layer of Ambar APS FGM adhesive was applied to the inner part of the zirconia crown (Fig.10) and light-cured (Fig. 11). Almost instantly the cement FGM Allcem core in A1 color was dispensed with (Fig 12). It is important to remove all excesses before the initial polymerization, then photopolymerize the edges and wait for the chemical locking of the FGM Allcem Core dual cement. Finishing, polishing, and cleaning the part before installation [Fig.13).




PROOF AND INSTALLATION
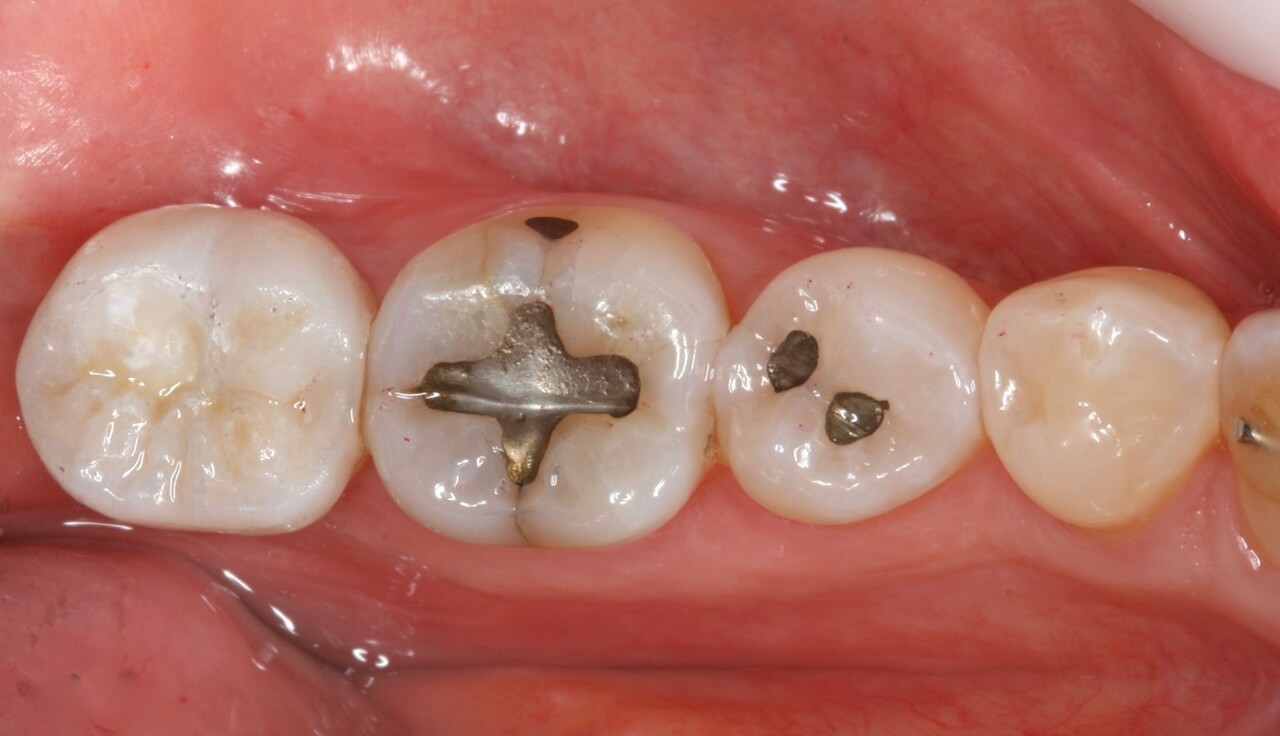
The temporary crown was removed and the new one installed (Fig. 14), performing the necessary assessments of contact, color, shape and adjusting the final torque of 10 N.cm. After protecting the screw inlet with a teflon “ball”, the “chimney” was closed with a composite resin restoration (Fig.15) via the Vittra APS Unique FGM. Static and dynamic occlusion contacts were checked, followed by adjustments, when necessary, and final polishing of the restoration (Fig.16).







CONCLUSION
Comfort and predictability are some of the benefits of this modern option of molding and confection of prosthetic parts during oral rehabilitation.
The digital workflow, a new and timely tool, is increasingly being incorporated into orthodontic clinics. It is transforming our relationship with our patients, our colleagues, and above all, our dental prosthesis laboratory.
REFERENCES
- Joda, T., Zarone, F. & Ferrari, M. The complete digital workflow in fixed prosthodontics: a systematic review. BMC Oral Health 17, 124
(2017). https://doi.org/10.1186/s12903-017-0415-0 - Azevedo JF, Catharino F, Zerbinat LP. O Fluxo Digital na Odontologia Contemporânea. J Dent Pub H. 2018;9(4):252-253
- Rafael Amorim Cavalcanti Siqueira, Renata Cimões, L. P. M. A. C. A. S. (2018). Impressão 3D na reabilitação com implantes dentários.
ARCHIVES OF HEALTH INVESTIGATION, 7.
