Author: Rodrigo S. Reis.
With the evolution of knowledge about teeth whitening, different options of whitening agents and various concentrations with and without desensitizing agents have emerged in the market. As a result, clinicians often face the question: which is the best whitening agent for my patient?
The answer is simpler than it seems. First, you need to assess your patient’s profile. Then, with knowledge of the characteristics and specifics of different types of whitening agents, as well as whitening techniques, you can choose your strategy.
Therefore, the plan is to customize the whitening protocol according to your patient, as we will discuss further.
Kinetics of Degradation of the Main Whitening Agents
Firstly, we need to understand the physics behind these agents, considering the most accepted theory that the degradation of carbamide peroxide, as well as hydrogen peroxide, releases oxygen that breaks down complex pigment macromolecules (oxidation of chromophores and cleavage of carbon double bonds), generating smaller molecules.
There are also theories that consider the oxidation of proteins (collagen) present in dentin (effect on amino acids that form the proteins), as well as the modification of enamel color (peroxide reduces enamel translucency, making it more opaque and masking dentin) by increasing the porosity and water volume of the structure (rehydrated), causing light scattering, resulting in a brighter appearance.
The effects on enamel surface are more transient, whereas in dentin, they provide greater durability. An accurate understanding of the final result will only be possible a few weeks after the completion of the treatment.


Concentration of Whitening Gels and the Speed of Whitening
Once this is understood, we realize that higher concentrations can accelerate the whitening process (which occurs more rapidly), while at lower concentrations, the process might be a bit slower (often resulting in a longer treatment time).
When speed is a concern, this should be considered. However, with higher concentration comes an increased risk of exacerbating any potential sensitivity during the whitening process – we’ll discuss this further ahead.
Another aspect to consider is the kinetics of peroxide degradation. Hydrogen peroxide quickly breaks down into water and releases oxygen (which might lead to a slight and superficial enamel demineralization), whereas carbamide peroxide breaks down into hydrogen peroxide and urea. Then, this hydrogen peroxide breaks down into water and oxygen, and urea breaks down into CO2 and ammonia.
In this process, there is an elevation of pH, meaning that the action of hydrogen peroxide is faster, making it suitable for concentrations below 10% for short-term tray treatments: 45 minutes to 1 hour, depending on the chosen protocol. Due to its faster degradation, hydrogen peroxide is ideal for in-office applications.
As for carbamide peroxide, for better utilization of the product, the wearing time of trays at low and medium concentrations should be at least 2 hours, possibly even up to 4 hours (with 4 hours being the peak release of carbamide peroxide’s oxygen).
At lower concentrations, like 10% carbamide peroxide – for the sake of convenience rather than whitening efficiency – patients can even sleep with the whitening trays. There’s also highly concentrated carbamide peroxide at 22%, which recommends usage for 90 minutes.
Choosing the Whitening Protocol
Based on this, we can make some considerations in my decision-making process:
- Patients who prefer to use trays for a short time: a good option is hydrogen peroxide in concentrations of up to 10%, or alternatively, 22% carbamide peroxide;
- Patients who prefer to sleep with the trays: the recommendation is to opt for carbamide peroxide (especially in the 10% concentration).
Important: Tray techniques are suitable for compliant and disciplined patients who will consistently use the trays with the product as prescribed by the dentist.


Whiteners Associated with Desensitizers
FGM offers carbamide peroxide gels with two desensitizers – sodium fluoride and potassium nitrate – which reduce the incidence or even the intensity of potential transient sensitivity.
FGM’s hydrogen peroxide for tray techniques contains calcium, which reduces transient demineralization and lowers the risk or intensity of potential transient sensitivity.
Therefore, for customized tray techniques, it’s preferable to choose gels with desensitizers or gels with calcium.
Dental Bleaching Causes Sensitivity: Myth or Truth?
There’s a myth that says dental bleaching causes sensitivity. It’s interesting to note that some patients tolerate the bleaching treatment well, even with high concentrations of peroxides, while others may give up and can’t handle the treatment even at lower concentrations.
Hence, if it were true that bleaching causes sensitivity, all patients would report this issue in a fairly similar manner to each other.
Another question that can be asked, therefore, for a better understanding of the matter:
Does bleaching cause sensitivity or does it reveal, exacerbate, a pre-existing sensitivity condition?
Due to a transient superficial demineralization – much less than that caused by, for example, a soft drink – and increased permeability of the tooth structure, thermal stimuli can be more easily conducted, resulting in a painful sensation for some and mild discomfort for others.
This doesn’t solely depend on the concentration of the bleaching gel and its degradation kinetics but also on the patient’s profile and details that need to be noticed during the clinical examination. Examples include the presence of cracks, vulnerable cervical enamel, cementum-dentin exposure, dental erosion, or thin enamel (gastric reflux, diet with frequent consumption of low pH foods and beverages), non-carious cervical lesions, saliva flow, parafunctional habits (bruxism).
These factors, either in isolation or combination, create the perfect scenario for dentin hypersensitivity. Based on this, we can conclude that a clinical examination and detailed patient history can provide relevant information to avoid disappointments during the bleaching therapy. A simple blast of air through the teeth or a prophylaxis can reveal interesting aspects that might go unnoticed in a visual examination.
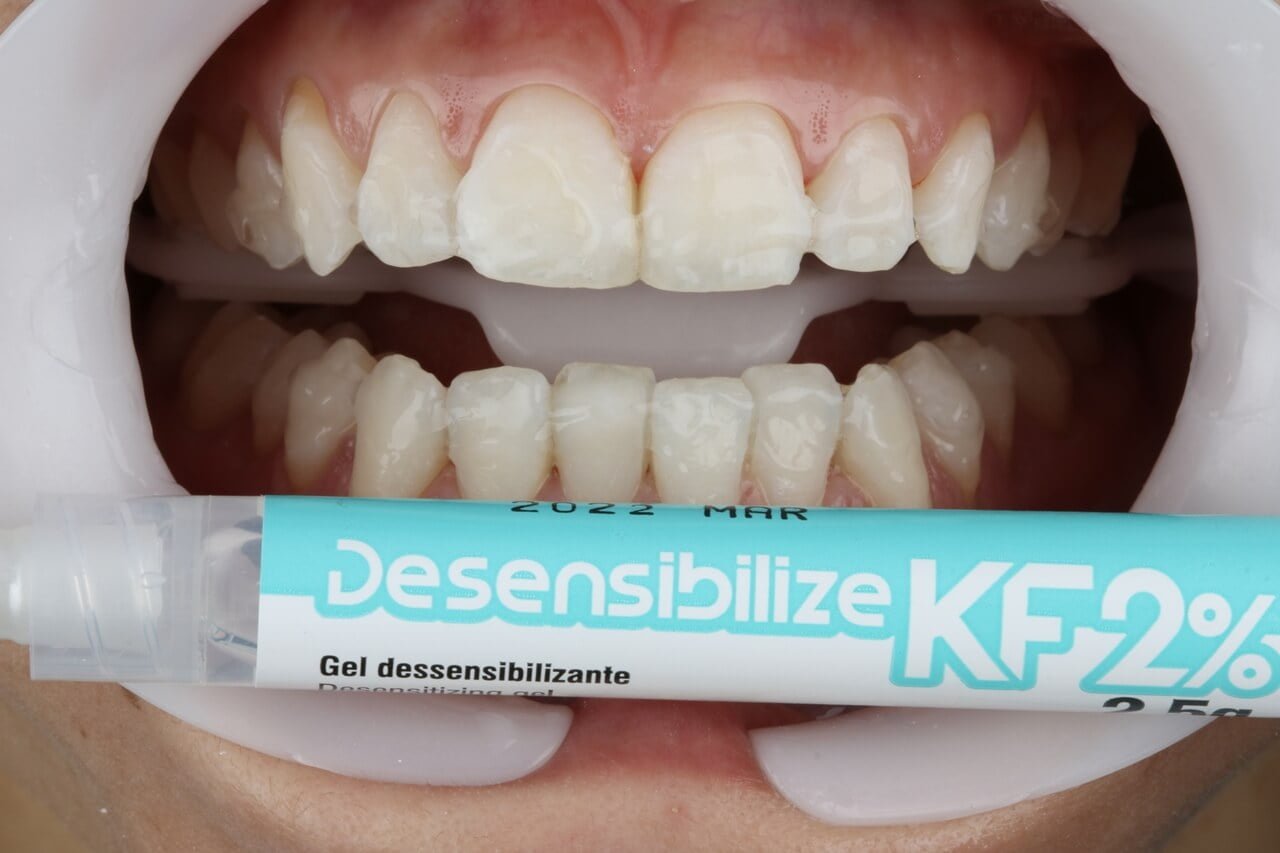
When detecting any of these issues, we should address hypersensitivity before the bleaching therapy and use lower concentrations for shorter periods during bleaching or alternate days. The prior use of FGM’s Desensibilize KF 0.2% in trays for 10 minutes may be useful for patients with a profile or higher risk of sensitivity.


Techniques with Higher Hydrogen Peroxide Concentrations
Due to the use of higher concentrations of the bleaching agent, in-office bleaching techniques should be recommended for patients with a low-risk profile or no history of sensitivity.
For these cases, FGM offers four alternatives:
- Whiteness HP: Classic manual-mix in-office bleaching agent that requires Whiteness HP Maxx.
- Whiteness HP Maxx: Manual-mix in-office bleaching agent with a heat blocker, for those who opt for light sources during the treatment, although the effectiveness of these light sources is not well supported in the literature.
- Whiteness HP Blue: Mechanically mixed product – using two attached syringes – with added calcium, which does not require changing during the application time.
- Whiteness HP AutoMixx: Auto-mixed product – dual syringe with a mixing tip that only activates the necessary amount for application – also containing calcium, applied once during the session.


Key Points in Patient Profile Assessment and Protocol Suggestions
Considering patients with prior periodontal health and controlled dental caries.
Regarding Collaboration and Discipline for Tray Usage:
- Collaborative, disciplined, and low risk of sensitivity: Trays or mixed technique (office + trays).
- Non-collaborative, undisciplined, and low risk of sensitivity: In-office bleaching (3 to 5 sessions on average).
Regarding Sensitivity Threshold:
High Sensitivity:
- First treat the cause of sensitivity: Desensibilize KF 0.2% for 10 minutes in trays.
- Whiteness Perfect 10% for 2 hours per day or alternating days.
Medium Sensitivity:
- Evaluate the need for pre-treatment due to sensitivity. If the condition is observed:
- Desensibilize KF 0.2% for 10 minutes in trays.
- Whiteness Perfect 10% or 16% for 2 to 4 hours per day, or White Class 7.5% for 30 minutes to 1 hour per day.
In-Office Bleaching:
- Desensibilize KF 2% for 10 minutes.
- Whiteness HP, HP Maxx, or HP AutoMixx according to instructions, customizable from 30 to 60 minutes based on patient’s transoperative reaction.
- 3 to 5 sessions, with a 3-day interval between them.
Mixed Technique:
- Desensibilize KF 2% for 10 minutes.
- Whiteness HP, HP Maxx, or HP AutoMixx according to instructions, customizable from 30 to 60 minutes based on patient’s transoperative reaction.
- Whiteness Perfect 10% or 16% for 4 to 8 hours per day, Whiteness Perfect 22% for 90 minutes per day, or White Class 7.5% to 10% for 45 to 60 minutes per day.
Trays:
- Whiteness Perfect 10% or 16% for 4 to 8 hours per day, Whiteness Perfect 22% for 90 minutes per day, or White Class 7.5% to 10% for 45 to 60 minutes per day.
It’s important to emphasize that the chosen initial protocol can be adjusted for greater or lesser intensity based on the peroxide concentration and gel exposure time, considering the patient’s response. Regular follow-up is essential to make these adjustments, tailored to specific needs or patient expectations. This ensures a pleasant experience while striving for the desired outcome. The dentist is responsible for monitoring and decision-making.
Regardless of the technique or philosophy of work, FGM offers a comprehensive portfolio to meet your and your patients’ needs.


