Authors: Dra. Alana C. Pereira e Dr. Vitor S. Bona.
Female patient, 20 years old.
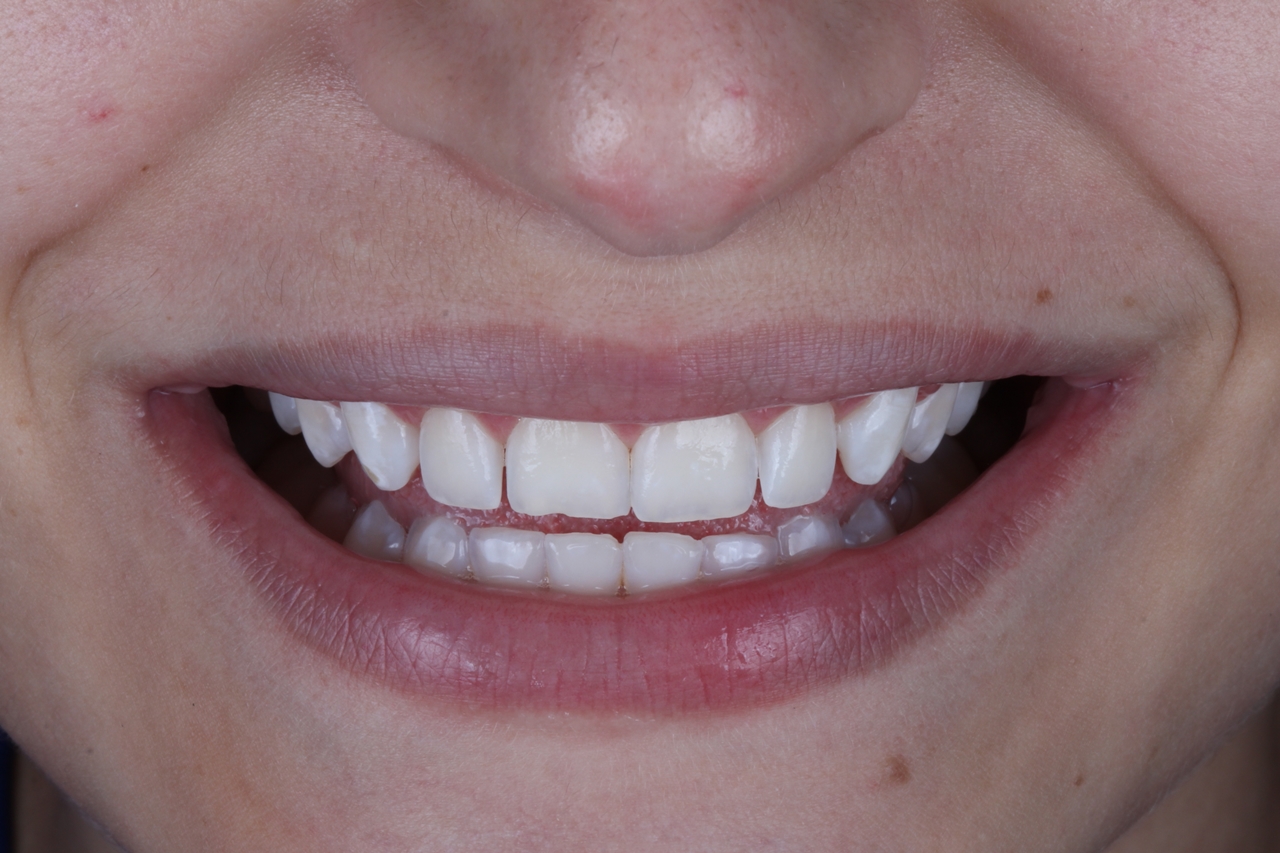
MAIN COMPLAINT: Generalized white spots, characteristic of fluorosis, and yellowish tooth color.
INITIAL ASSESSMENT
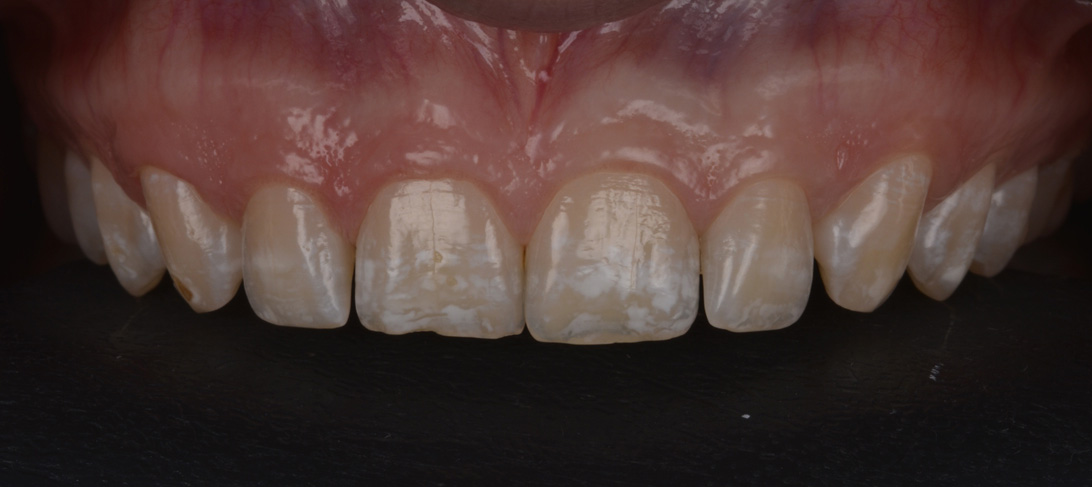
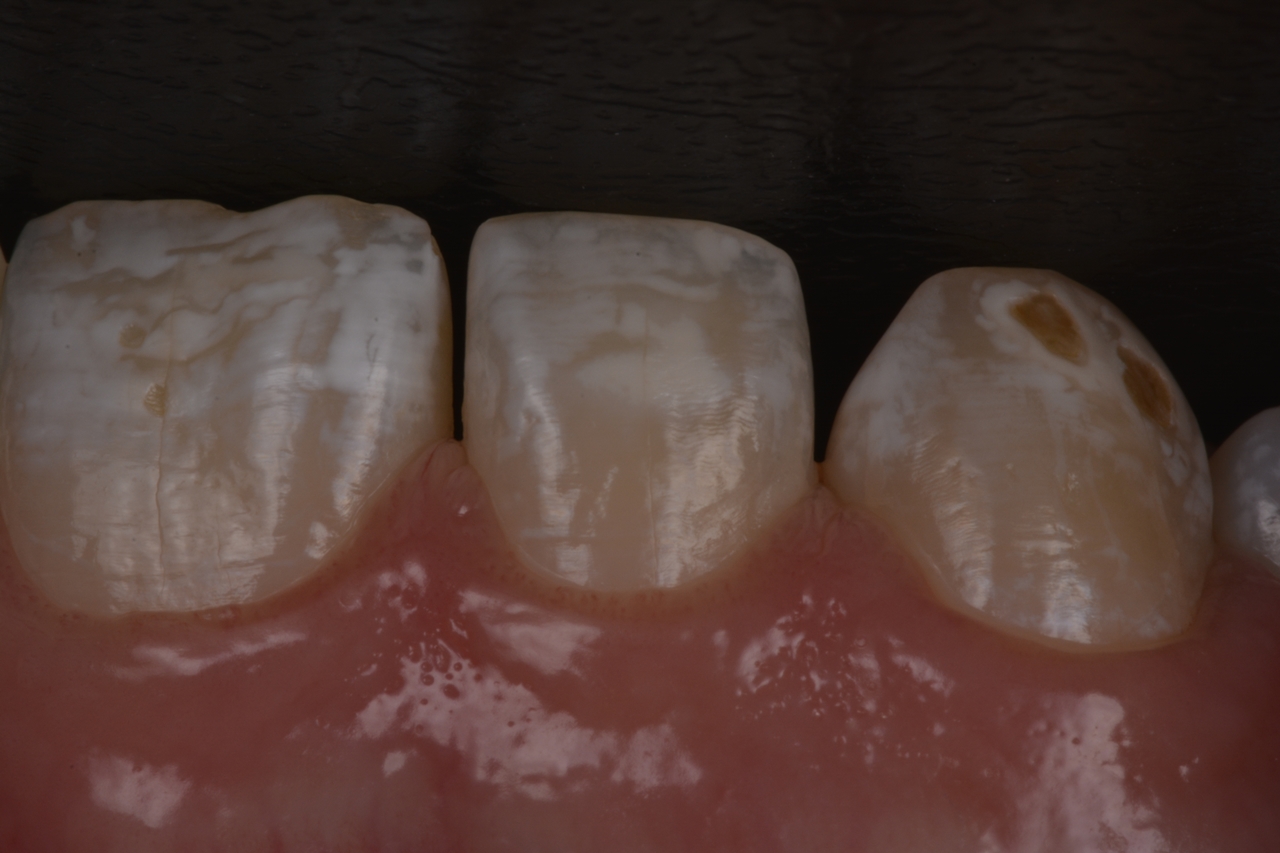
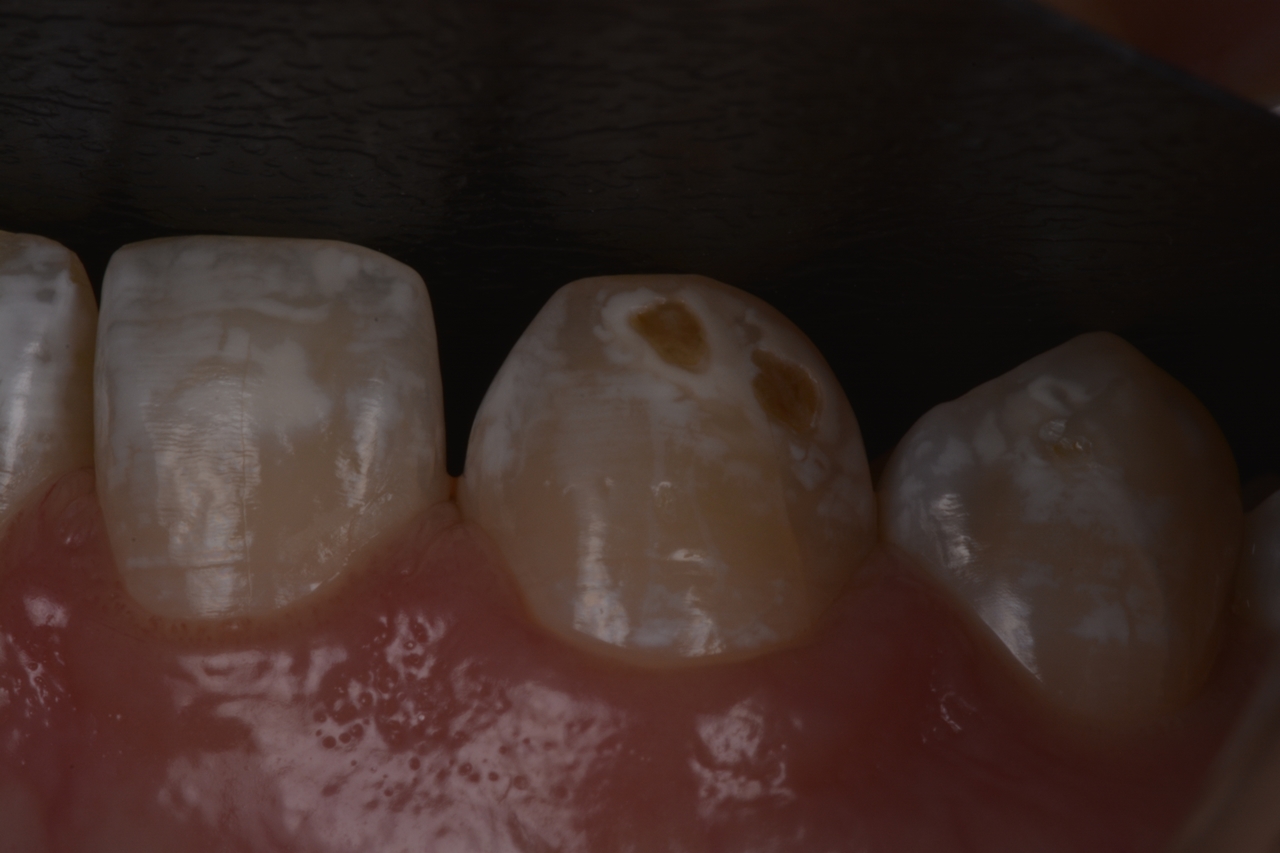
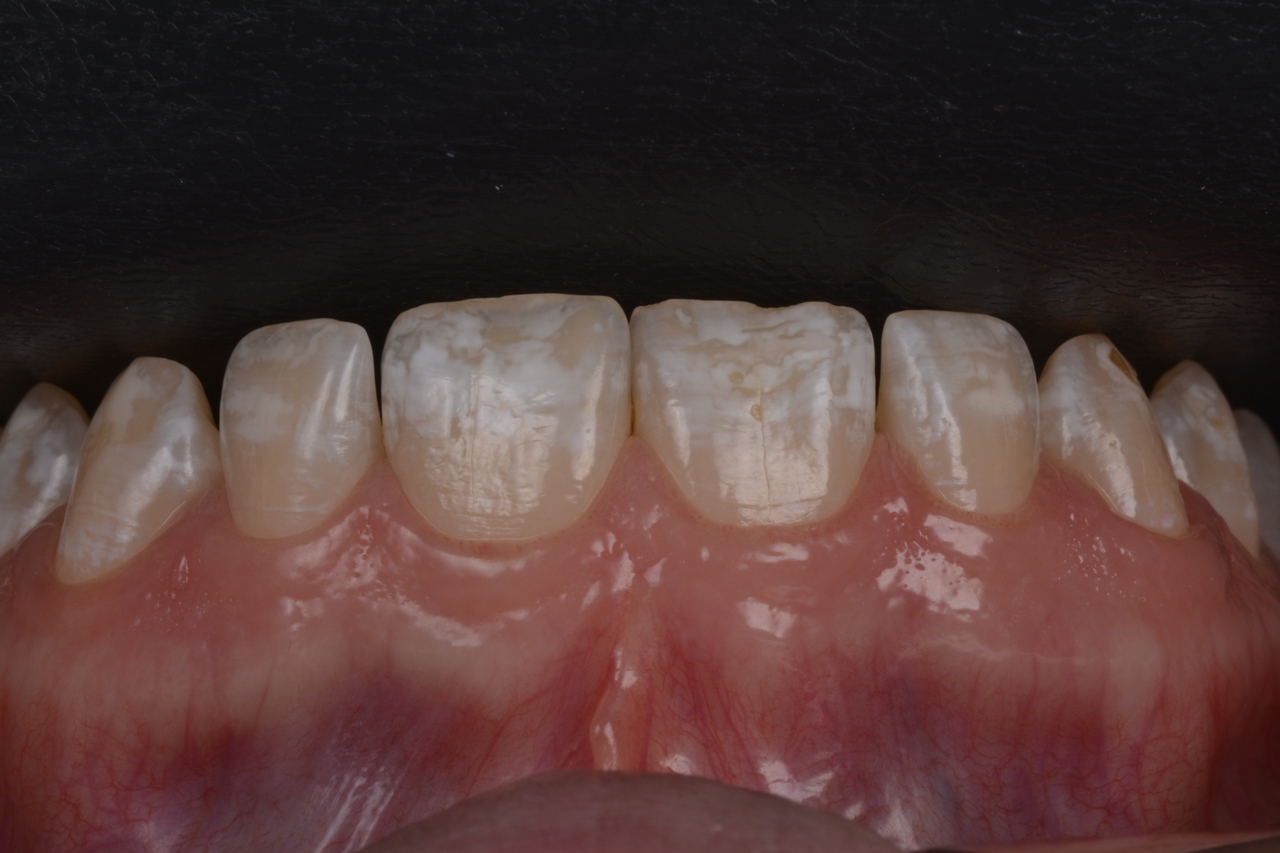
During the anamnesis and clinical examination, a moderate degree of dental fluorosis was observed, with spots mainly present between teeth 13 to 23 (Fig. 1). The patient reported being bothered by the yellowish appearance of her smile, and using a Vita shade guide, the color A3 was determined.
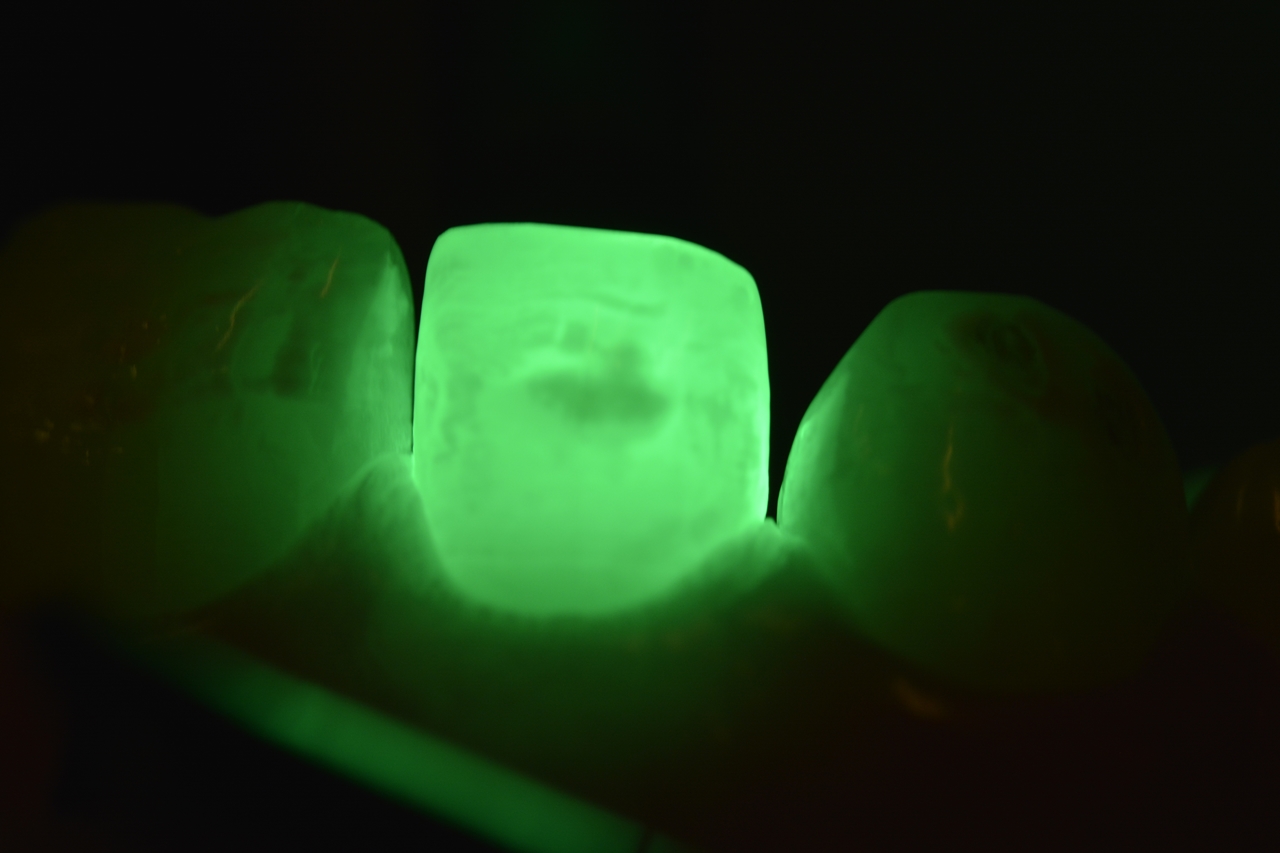
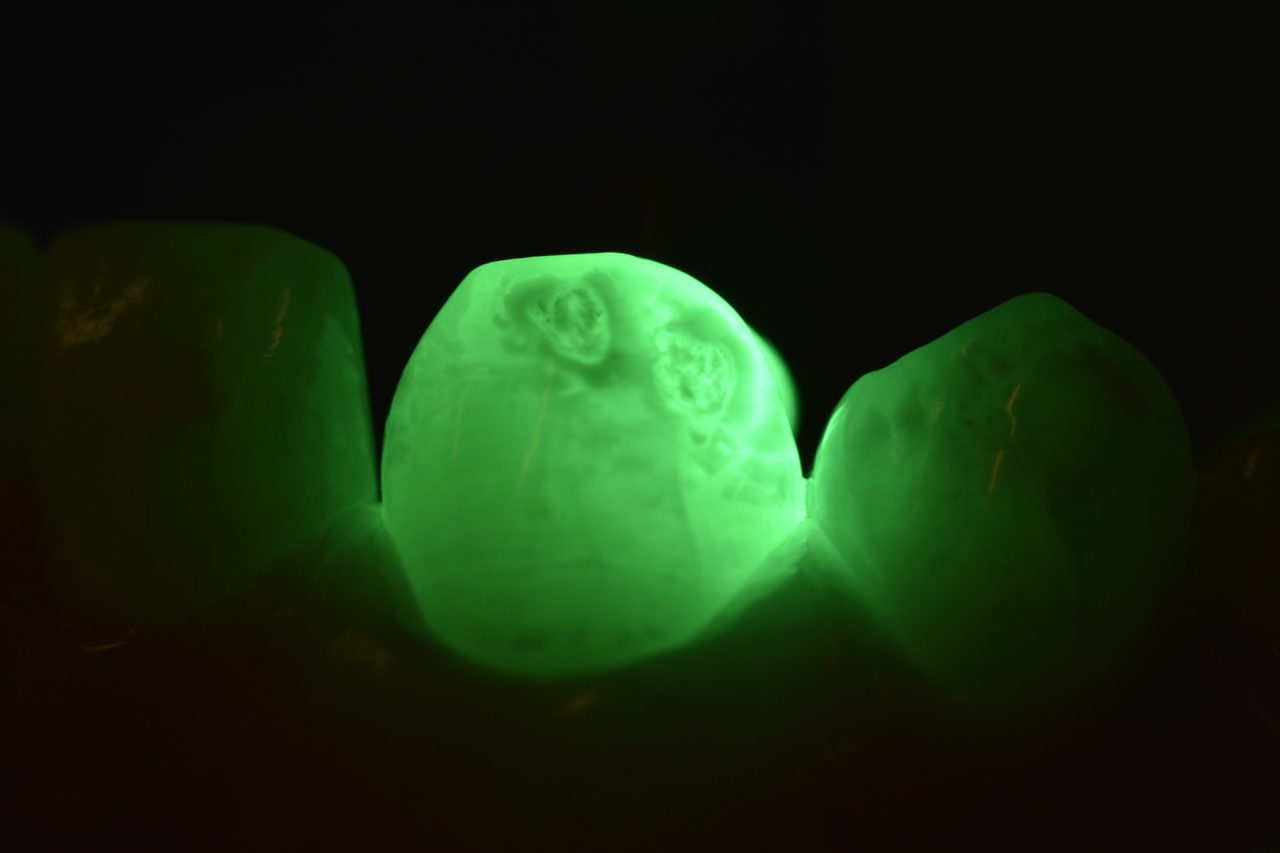
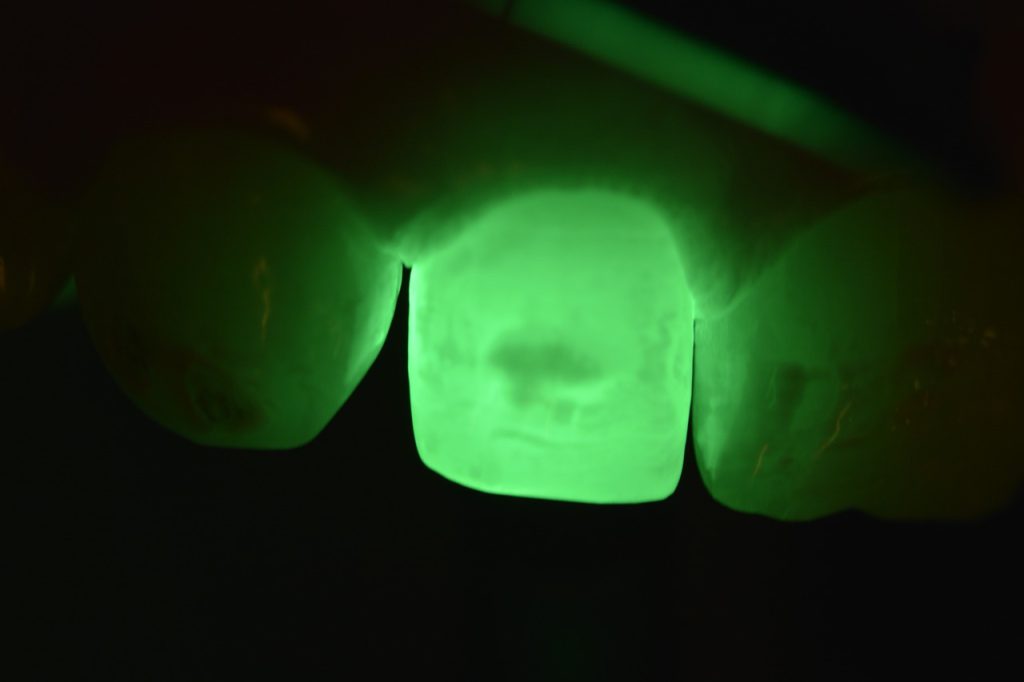
With the aid of a transilluminator, the depths of the stains were evaluated, determining the treatment plan. Superficial stains that are not visible through the transilluminator are easily resolved with dental whitening. However, deeper stains, those seen as darkened shadows (Fig. 2b and 3b), will require an alternative treatment such as enamel microabrasion.
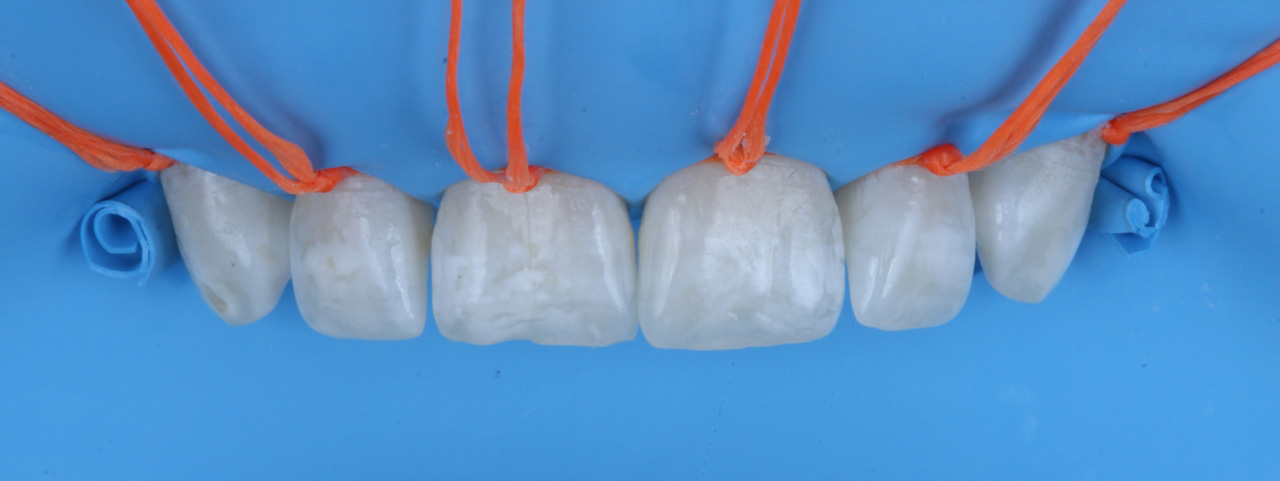
TREATMENT PERFORMED
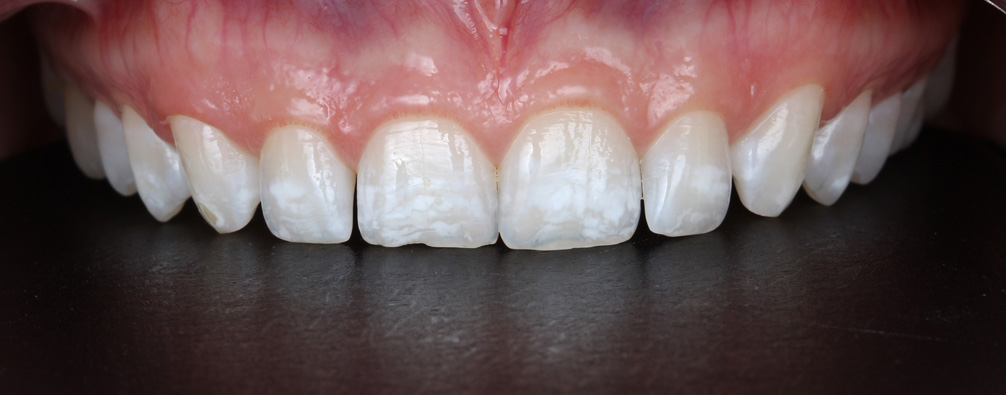
The proposed treatment plan suggested supervised at-home dental whitening with 10% carbamide peroxide (Whiteness Perfect 10%) for 4 hours daily over 21 days, followed by enamel microabrasion using 6% hydrochloric acid associated with silicon carbide particles (Whiteness RM). After three weeks of continuous use of the whitener, the patient returned for color evaluation. Fig. 4a and 4b show the clinical situations before and after whitening, demonstrating excellent results.
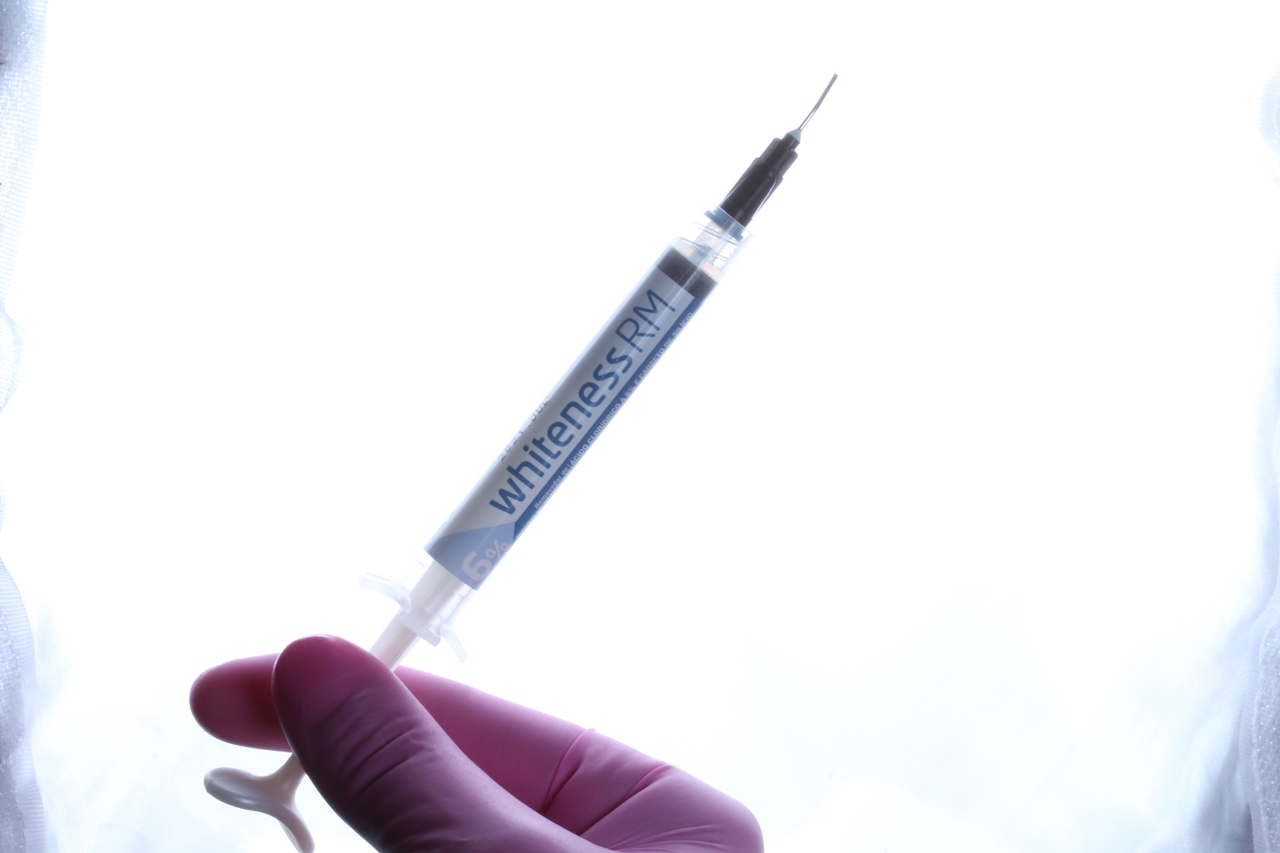
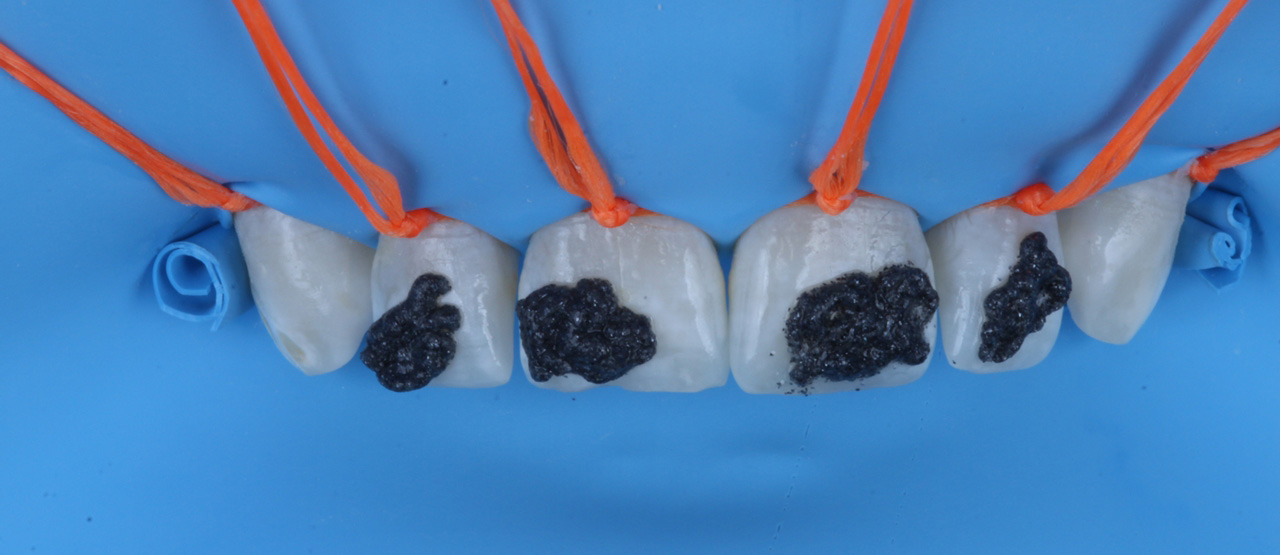
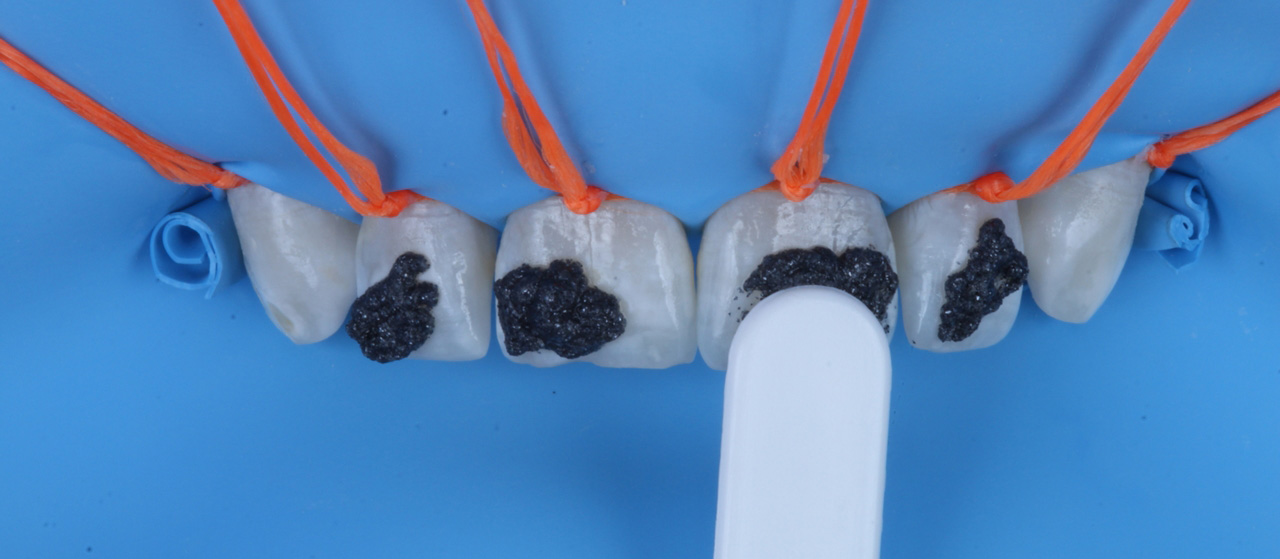
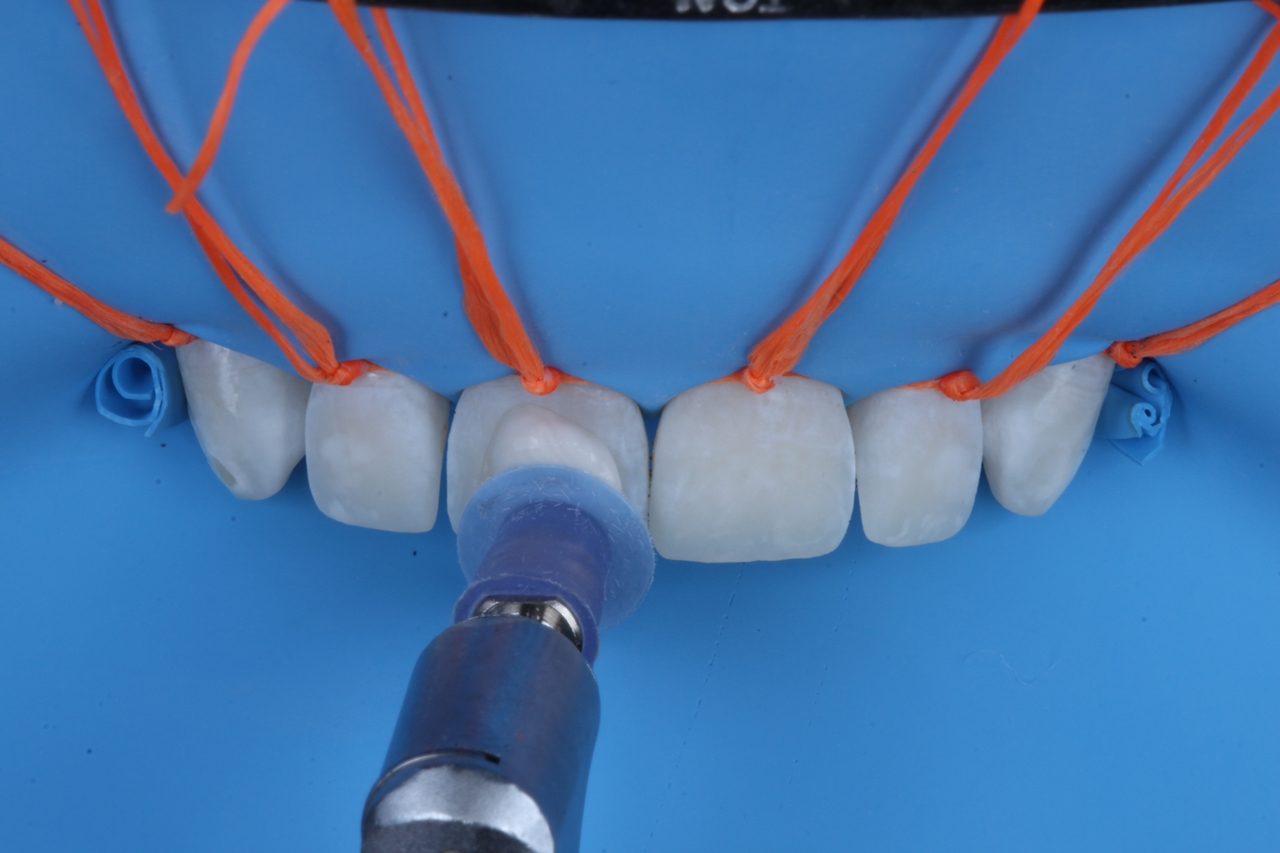
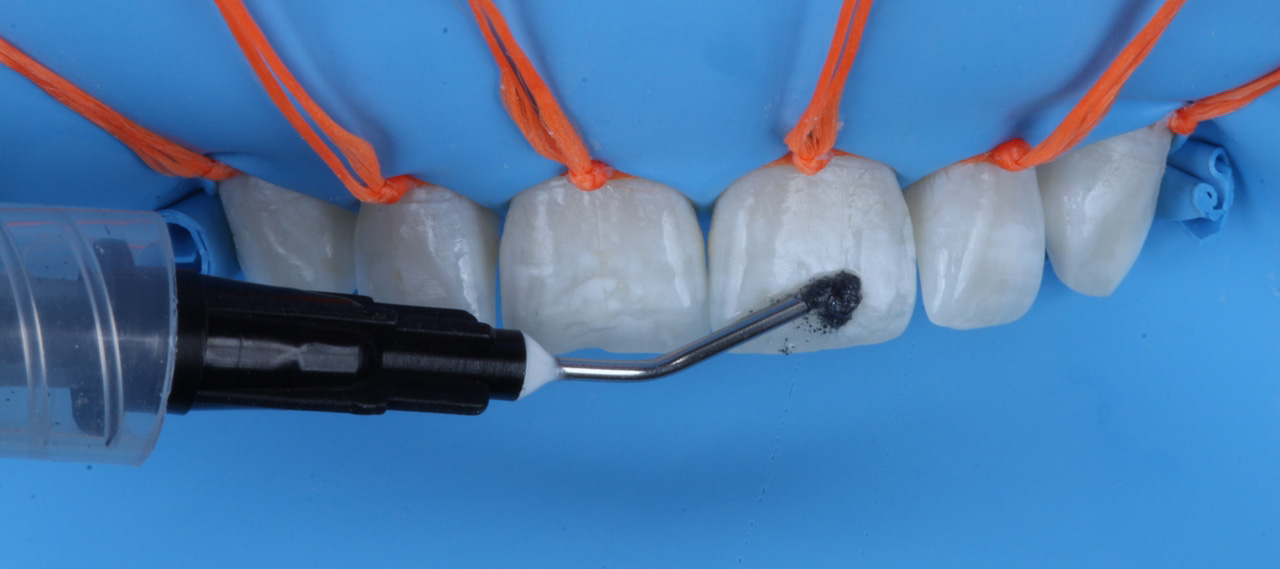
For enamel microabrasion, 6% hydrochloric acid associated with silicon carbide particles (Whiteness RM) was used (Fig. 5). It is important to perform absolute isolation of the operative field when applying this product. A ligature was made around each tooth to ensure that the rubber dam was completely invaginated, as shown in Fig. 6. Small amounts of the product were deposited on the vestibular surfaces of the six upper anterior teeth (Fig. 7a and 7b). In Fig. 8, it can be seen that stain removal can be done by manual friction for 10 seconds on each tooth using the spatula included in the kit.
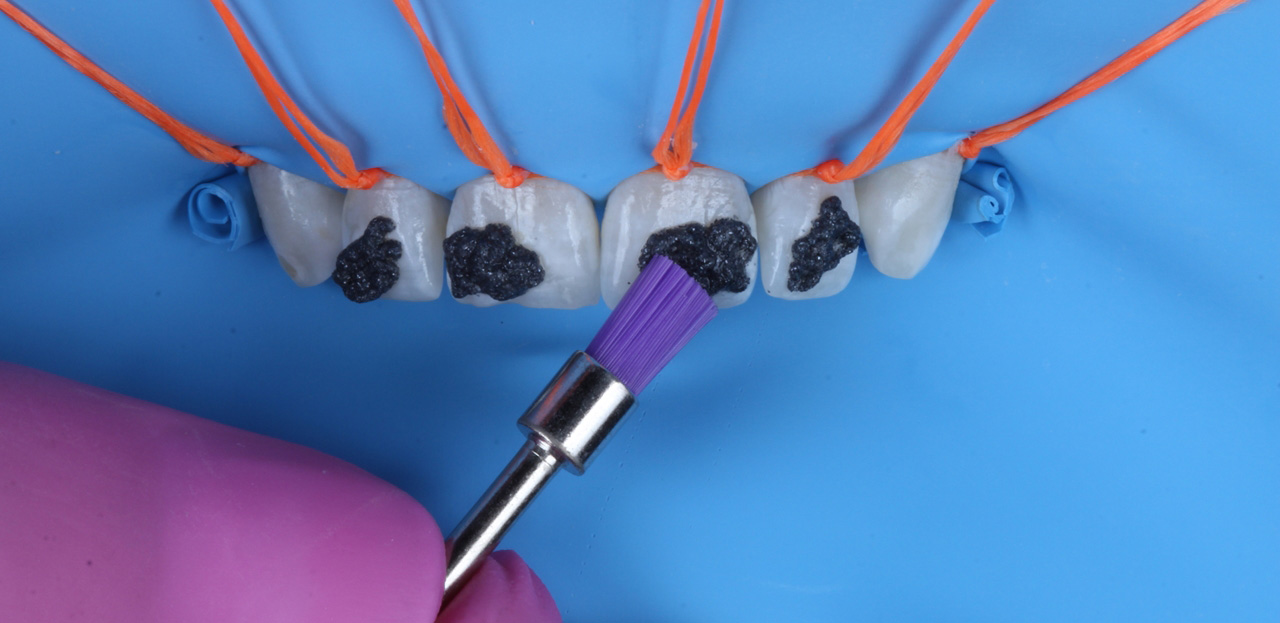
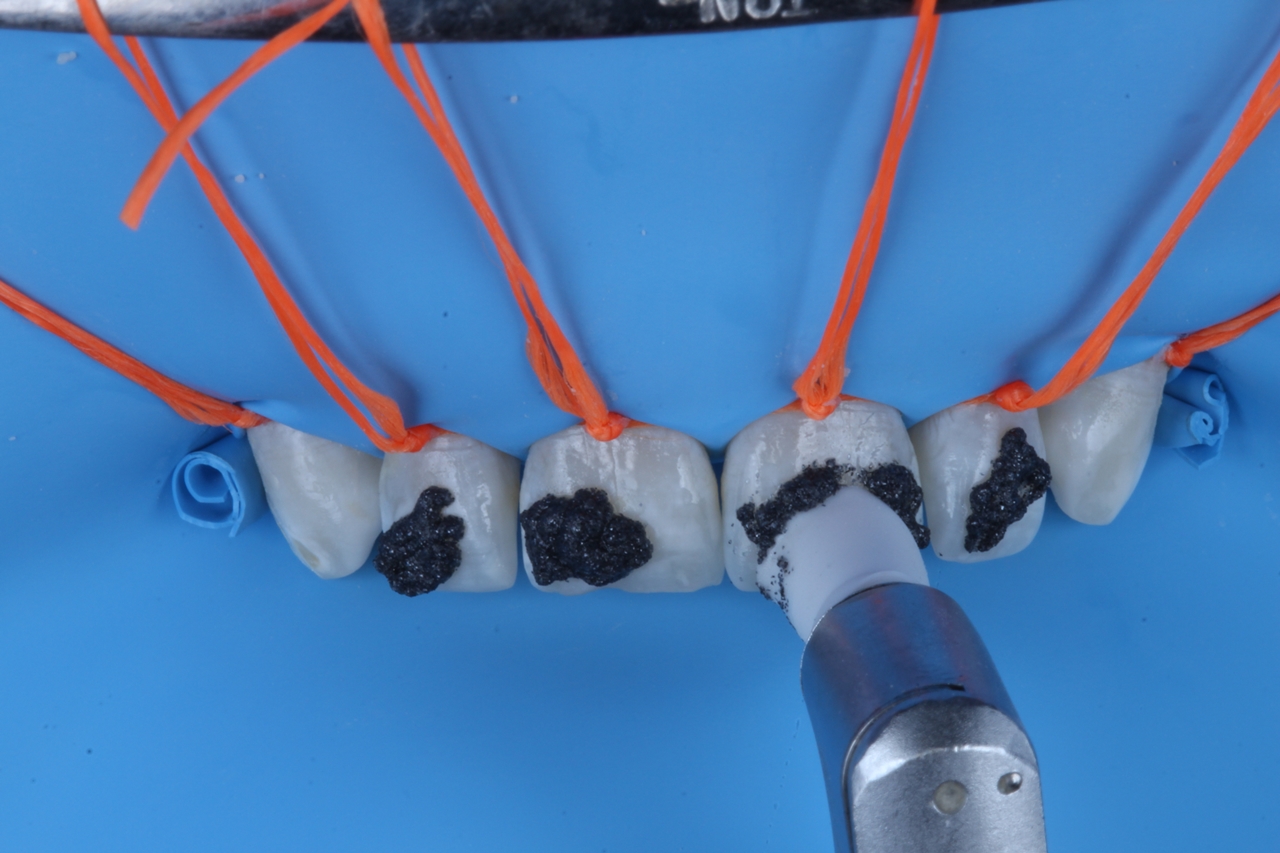
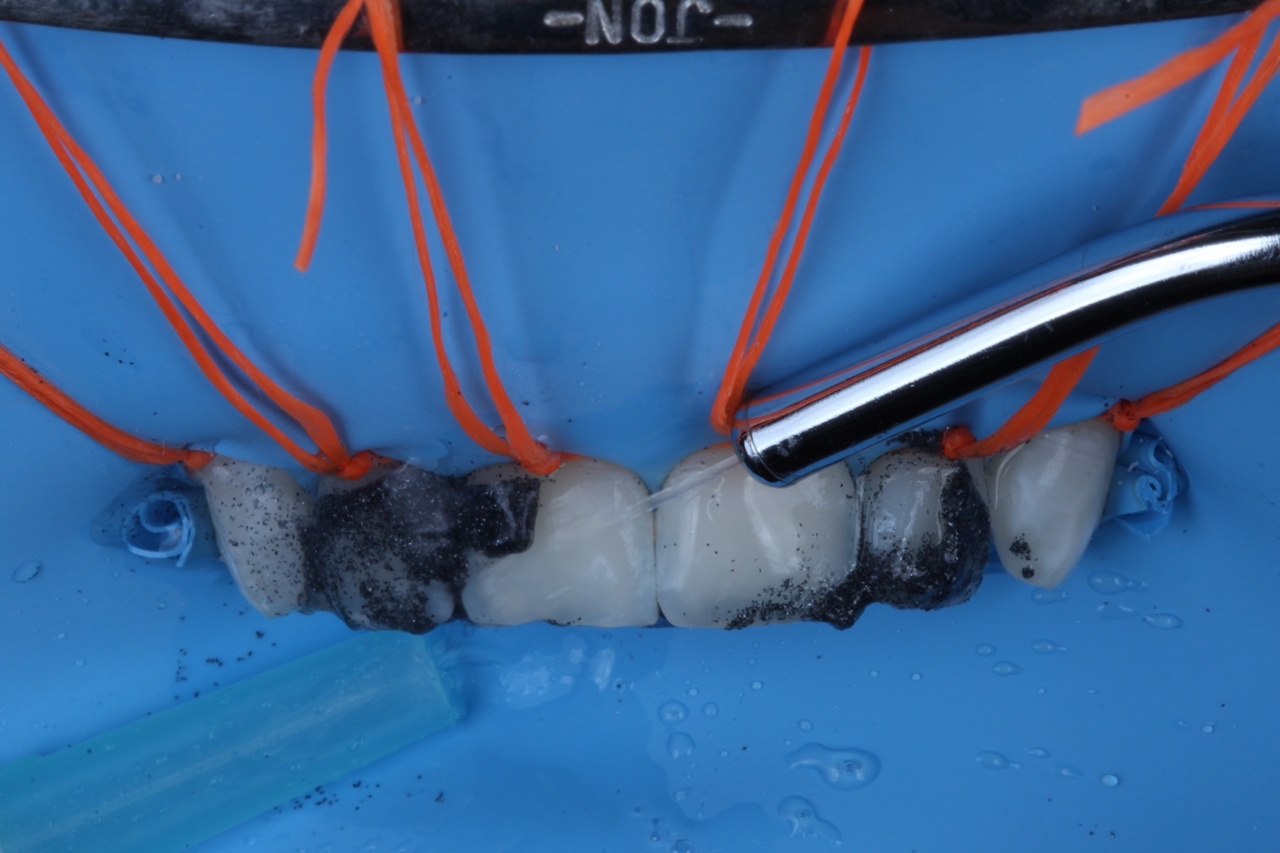
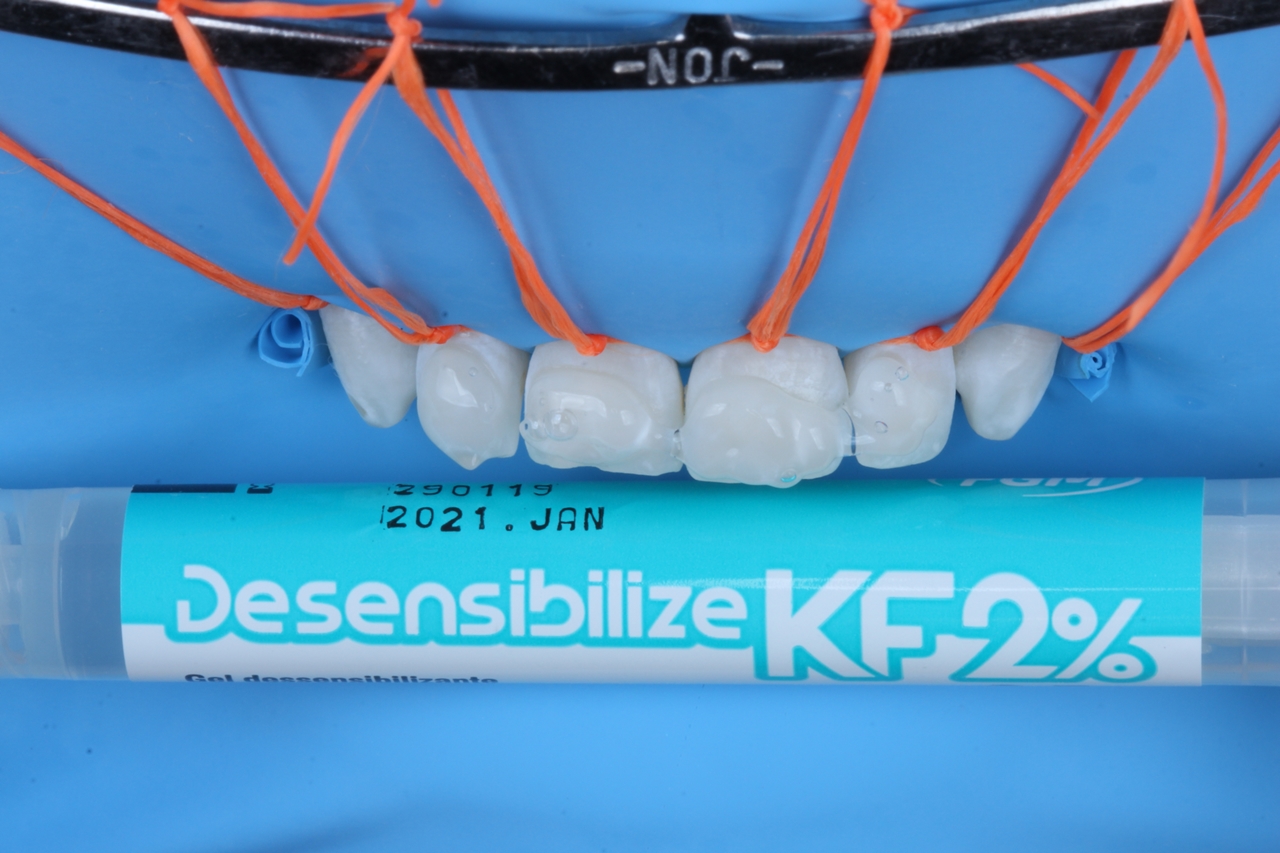
It can also be done using a Robson brush in circular manual motions (Fig. 9). Alternatively, a rubber cup can be used at low speed for more severe and persistent stains. In this case, gentle and controlled friction is important (Fig. 10). The operation can be repeated 15 times in each session, and it is important to thoroughly wash after each product change (Fig. 11). The number of sessions depends on the severity and quantity of stains. In this case, one session was sufficient to smooth out all the stains that were bothering the patient. After washing, complete removal of the product, and drying, the application of Desensibilize KF2%, a desensitizing gel based on 5% potassium nitrate and 2% sodium fluoride, was carried out. Finally, superficial enamel polishing was recommended using Diamond Flex felt discs and Diamond Excel polishing paste. After dental rehydration, the difference between the initial and final clinical situations can be observed. It is important to discuss with the patient the benefits of choosing two highly conservative techniques for the removal of generalized fluorosis stains.
STEP-BY-STEP
